Last updated November 16, 2026





Free written scope consultation - allowances, timeline, and change-order rules on paper before a single trade is scheduled
Windows & Doors Maintenance Schedule: What to Do and When
Weep holes clog with debris in 12 to 18 months in Southern California’s particulate air. Those are the small slots at the bottom of a window frame that drain condensation, and most homeowners have never heard of them. A clogged weep hole turns a window frame into a water retention trough, which is why we see sill rot on five-year-old windows that should have lasted twenty. Window and door maintenance is really three jobs, not one: hardware, weathersealing, and glazing degrade on different timelines. This guide gives you the bi-annual and annual schedules that catch the six-month items causing most early failures, written from what we actually see on Glendale homes.
Quick Answer
Clean weep holes and check weatherstripping every six months, in spring and fall. Inspect glazing seals and lubricate hardware once a year. Replace door sweeps and worn bulb seal when you can see daylight or feel a draft, usually every two to four years on high-traffic doors. Everything else, from hinge tightening to screen repair, fits into those two cycles.
Styles & brands we work with
- Kitchen remodeling
- Bathroom remodeling
- Home additions & ADU
- Roofing
- Windows & doors
- Driveway & pavers
- Fence
Table of Contents
The Three Systems That Age Differently
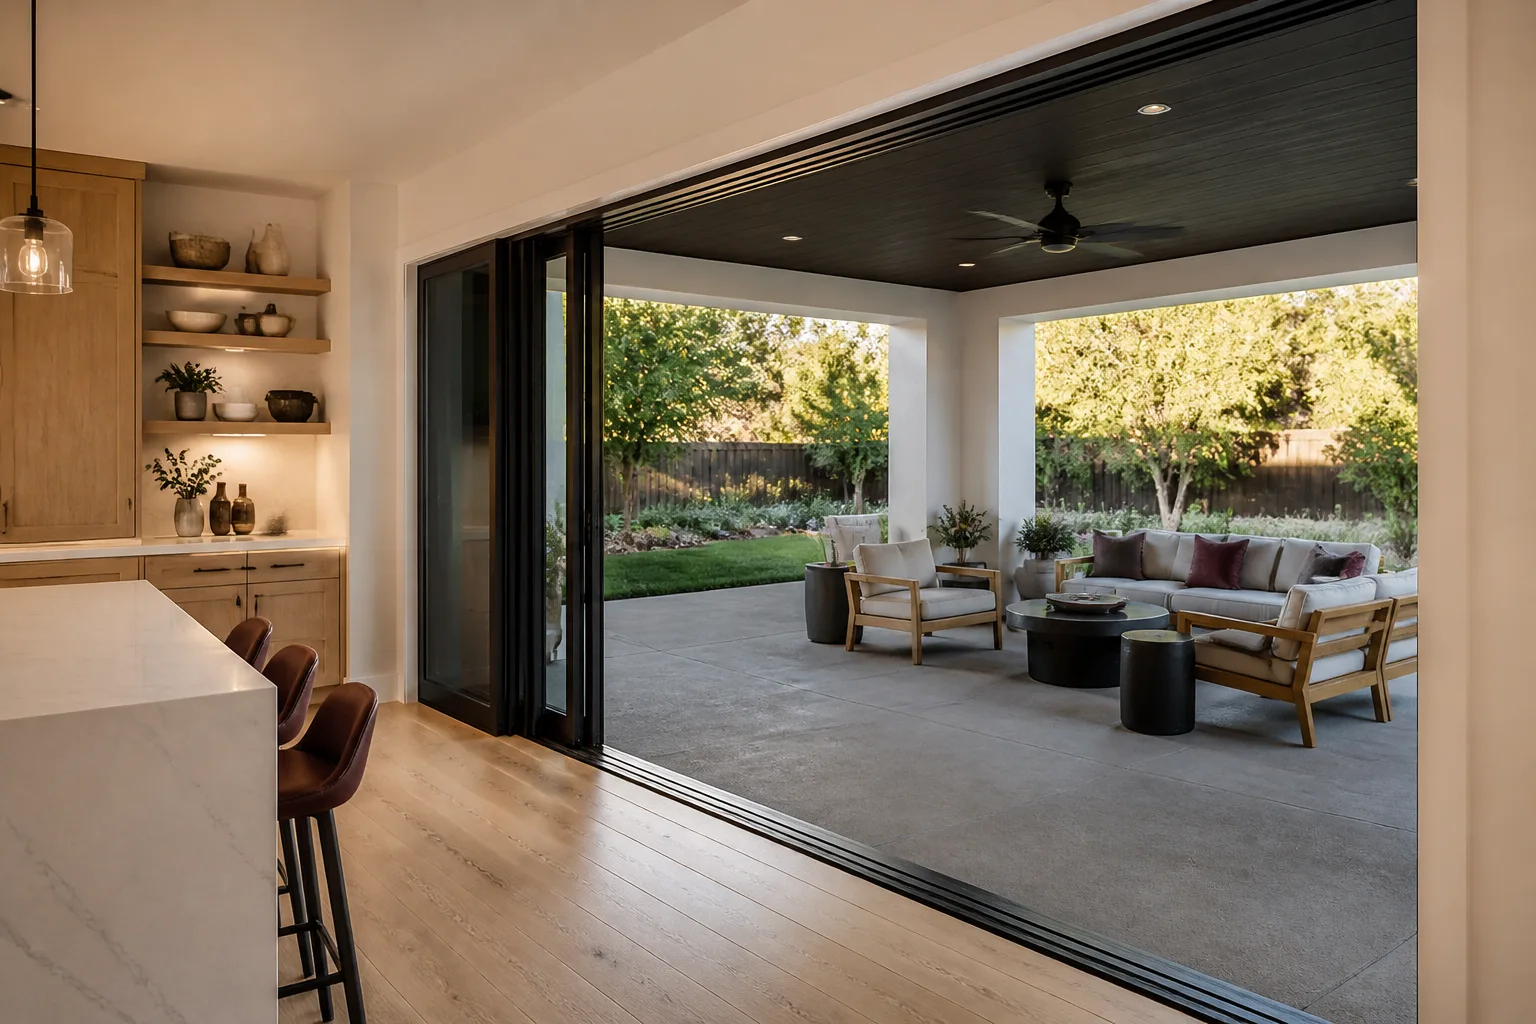
A window or door is hardware, weathersealing, and glazing working as one assembly. Each part has its own failure clock. Hardware wears from friction and grit. Weathersealing fails from UV exposure and compression set. Glazing fails from sealant breakdown at the edge, which depends on sun angle and how much the pane moves with temperature swings. Glendale sits in a basin where inland heat pushes into the foothills and the afternoon sun on south and west elevations is unforgiving. That means a south-facing door in Glendale takes more UV load than a north-facing door two blocks away.
Most maintenance advice collapses all three into a single annual chore. That approach misses the weathersealing items, which fail on a shorter cycle and cause most of the water intrusion we find during window and door work.
Here’s how the timelines actually separate:
- Hardware: inspect twice a year, lubricate once. Track wear, rollers, and locks daily.
- Weathersealing: inspect every six months. Foam tape and door sweeps are the fastest-wearing items in the assembly.
- Glazing: inspect annually, but learn the early signs so you catch seal failure before fogging appears between the panes.
If you’ve been running one checklist for all three, you aren’t behind. You’re just doing the wrong work at the wrong interval. The fix is separating the calendar into a six-month cycle and a twelve-month cycle.
The Spring and Fall Checklist
Two cycles a year, timed to the seasons when weather shifts in Glendale. Spring catches winter water damage before the dry months hide it. Fall preps the seals before the rain returns. Each visit takes about an hour on a typical home.
Spring cycle, after the last rain:
- Clear every weep hole with a stiff wire or pipe cleaner. Do it first, because everything else depends on drainage.
- Walk each door and window and look for water staining, bubbling paint, or soft wood at the sill.
- Open and close every operable window. Note any that stick, drag, or won’t latch flush.
- Inspect weatherstripping for cracks, compression, or gaps. Replace foam tape and sweeps that fail the dollar-bill test.
- Check exterior caulk lines around frames and flanges. Recaulk any lifted or cracked bead.
- Clear tracks of grit with a vacuum and soft brush. Never scrape with a metal tool.
Fall cycle, before the first storm:
- Re-check weep holes; summer dust and pollen load them up again.
- Test door sweeps for daylight underneath. Adjust or replace before rain season.
- Lubricate hinges, locks, and sliding tracks.
- Check screens and storm panels for tears and loose splines.
- Confirm every lock and latch engages fully. Hardware loosens over summer heat cycles.
We’ve seen homes in the Adams Hill area where fall-checked sweeps would have prevented the water staining we found in December. The cost of a $15 sweep versus sill repair isn’t a close call.
Weep Holes: The 30-Second Task
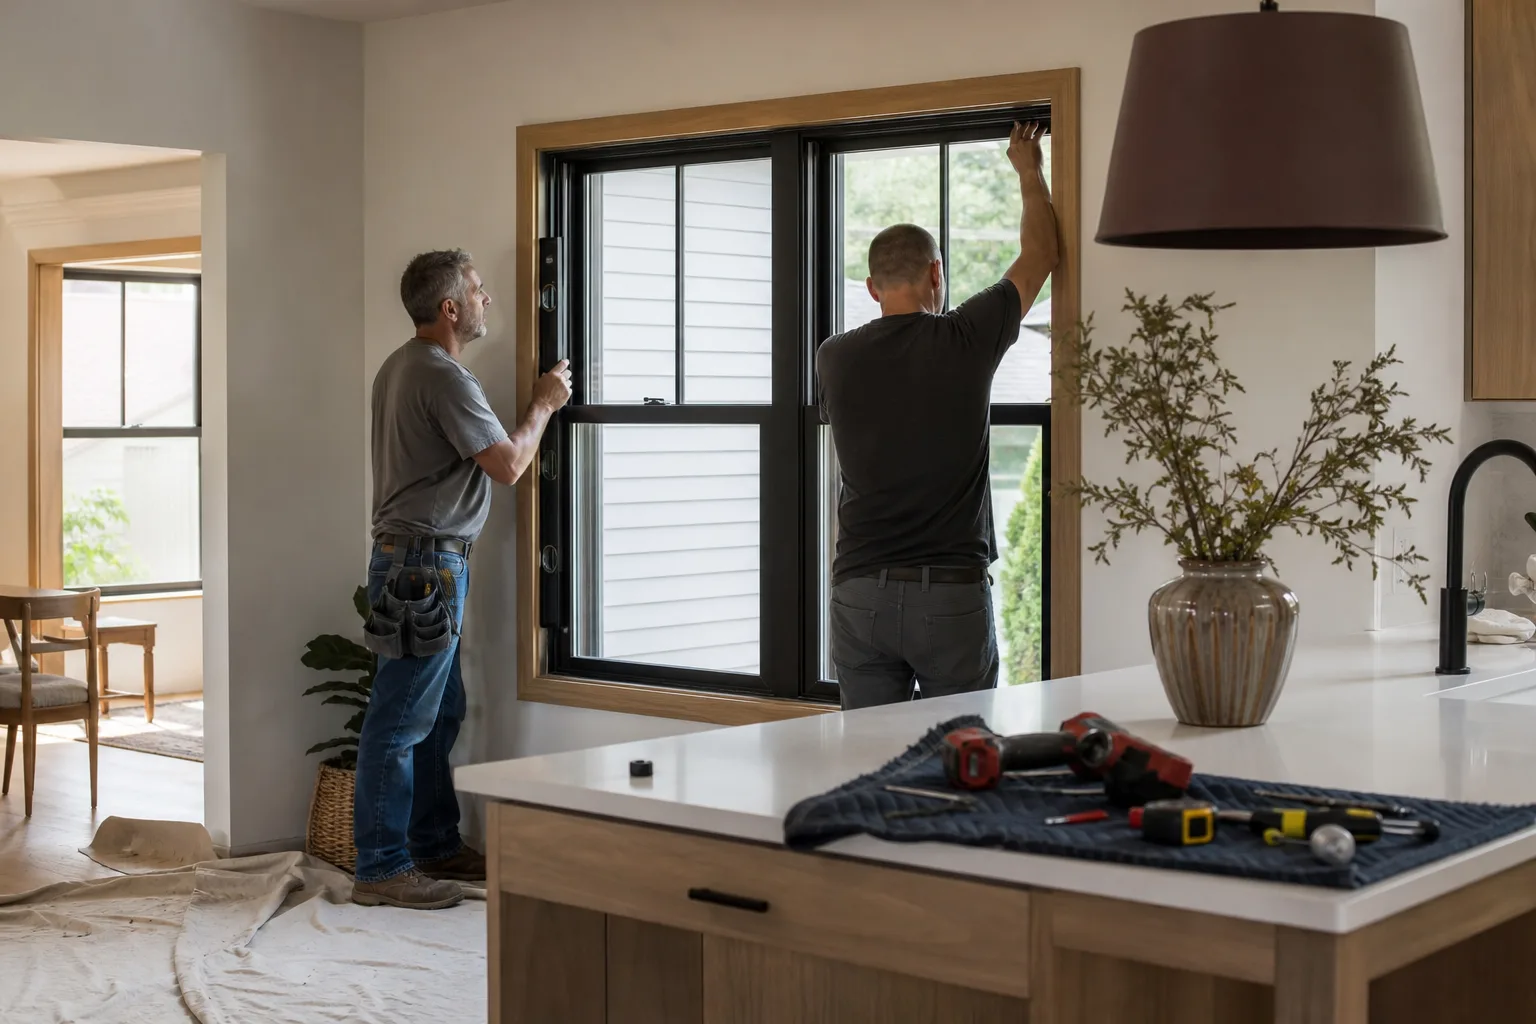
Weep holes are the small drainage slots at the bottom of a window frame, usually one-third of the way in from each corner. They exist so condensation and driven rain can escape instead of pooling against the sill. When they clog with dust, pollen, or insect debris, water sits in the frame channel. That water finds the weakest seam and rots the wood or rusts the frame.
Clearing one takes about 30 seconds. Insert a stiff wire, pipe cleaner, or the plastic tool many manufacturers include, and work it through the slot until water drains. Don’t use a drill bit or anything that enlarges the opening; you’ll compromise the drainage design.
What to watch for:
- Visible debris: pollen crust, small leaves, or insect nests at the opening.
- Water stains below the hole: a sign the drain is working, but slowly. Clear it.
- No drainage after clearing: the interior channel may be blocked deeper. That’s a disassembly job.
- Missing weep hole covers: the small plastic hoods keep debris out. Replace them when lost.
On homes where we install CertainTeed and Owens Corning window products, the weep design differs by frame style, but the maintenance is identical. Check them at both seasonal visits. In our experience, this is the single highest-return task on the whole schedule, and almost no one does it.
Weatherstripping by Material Type
Weatherstripping isn’t one product. Foam tape, bulb seal, door sweeps, and fin seal each fail differently, and inspecting them takes a different eye. Treat them as four separate systems and you’ll replace the right one at the right time instead of guessing.
Foam tape compresses flat and stops rebounding. Check by pressing it with a fingernail; if it doesn’t spring back, it’s done. Expect one to three years of life on door jambs.
Bulb seal (the hollow tube style) cracks along the bulb surface and flattens where it meets the stop. Look for surface cracks and a visible gap when the door is closed. It typically lasts two to four years.
Door sweeps wear at the bottom edge from floor contact. Hold a flashlight on one side of the door at night; if you see light under the sweep, it needs adjusting or replacing. High-traffic doors in Glendale homes often need a new sweep every two years.
Fin seal (the thin blade style on sliding doors and windows) tears at the corners and lifts from its channel. Check with a slow finger run along the edge; any tear or lift means replacement.
The dollar-bill test works across all four: close the door or window on a dollar bill and pull gently. Consistent resistance means a good seal. If it slides out with no drag, that section has failed.
We’ve found that weatherstripping is where most draft complaints actually start, long before the window itself is the problem. If you’re wondering whether a drafty room needs new windows or just new seals, our Rowan Construction Group Glendale home page covers how we assess that before recommending replacement.
Hardware Lubrication: What to Use and What Damages Seals
Hardware lubrication is easy to get wrong because the most common product on the shelf, WD-40, is a solvent-based cleaner, not a long-term lubricant, and it can degrade rubber and elastomer seals over time. Use the right product for the surface and you’ll add years to hardware life.
Match the product to the material:
- Aluminum sliding tracks: silicone spray or dry PTFE lubricant. Light coat, wipe the excess.
- Vinyl tracks and frames: silicone spray only. Avoid petroleum-based products that soften vinyl.
- Wood windows: paraffin wax or a paste wax on sliding surfaces; a light machine oil on hinges and locks.
- Hinges and locks: graphite powder or a dry lubricant that won’t attract grit.
WD-40 works as a short-term freeing agent, but it evaporates and leaves a residue that collects dust. On tracks, that residue becomes grinding paste. Use it only to free a stuck mechanism, then clean and apply a proper dry lubricant.
A simple annual routine:
- Vacuum grit from all tracks first. Lubricant on top of grit makes an abrasive.
- Wipe surfaces clean and dry.
- Apply a light coat of the right product. Wipe off excess.
- Operate the window or door several times to distribute.
- Check all locks and latches for smooth engagement.
Do this once a year, ideally in fall. On doors used daily, spot-lubricate hinges mid-year.
See the difference
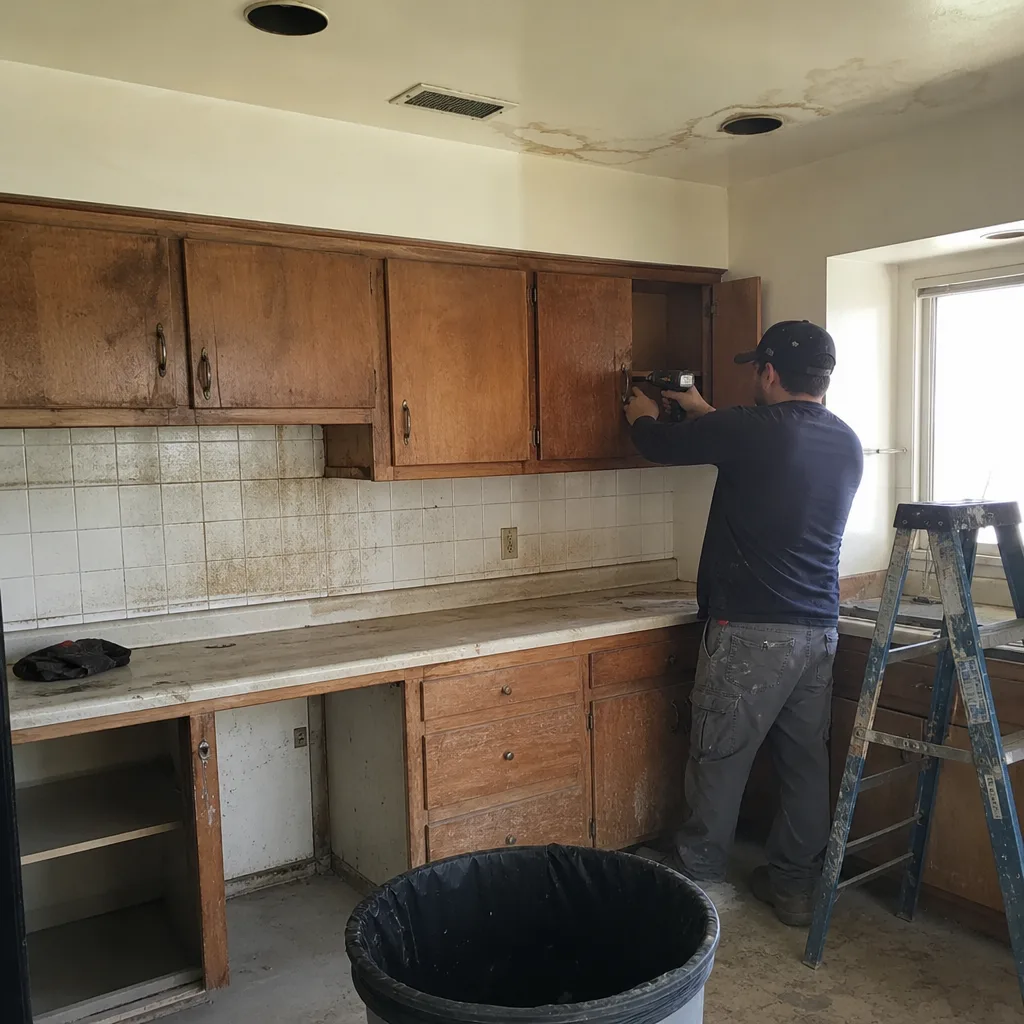 Before
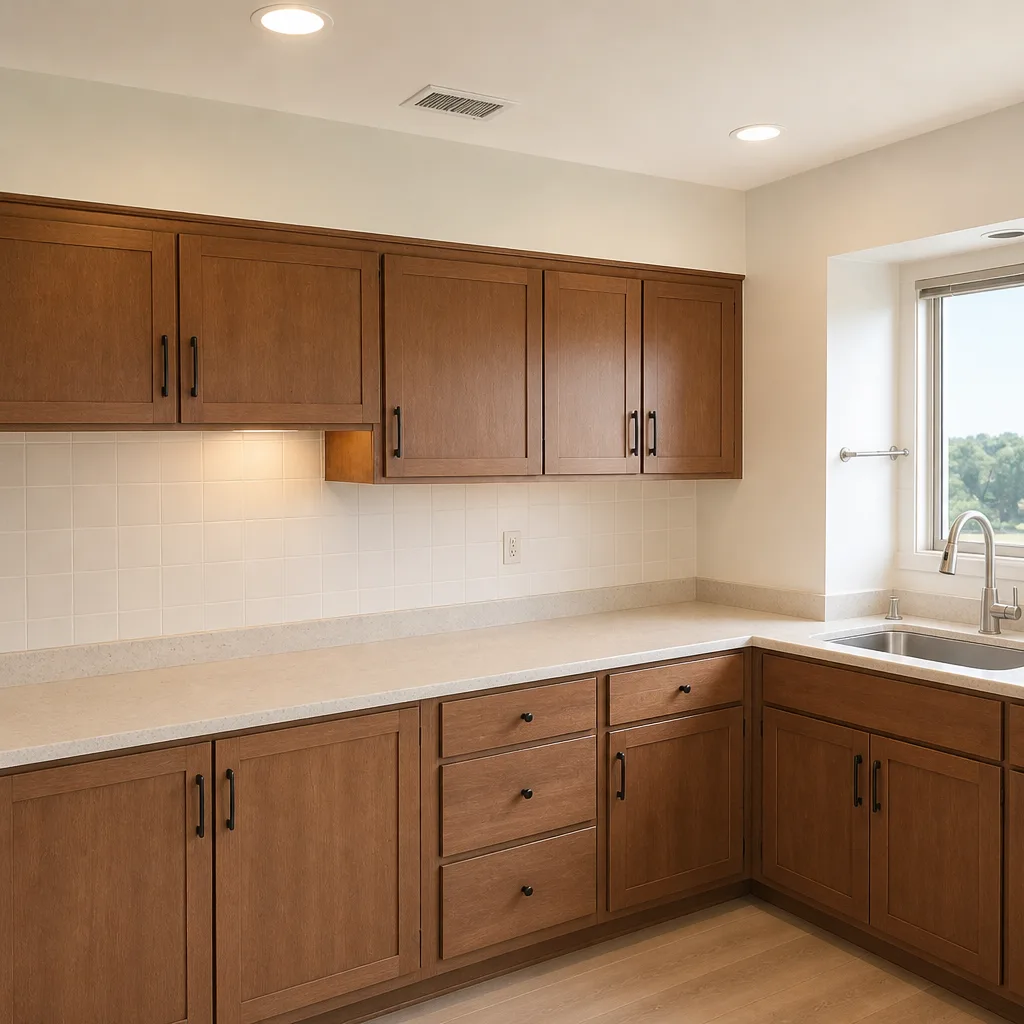 After
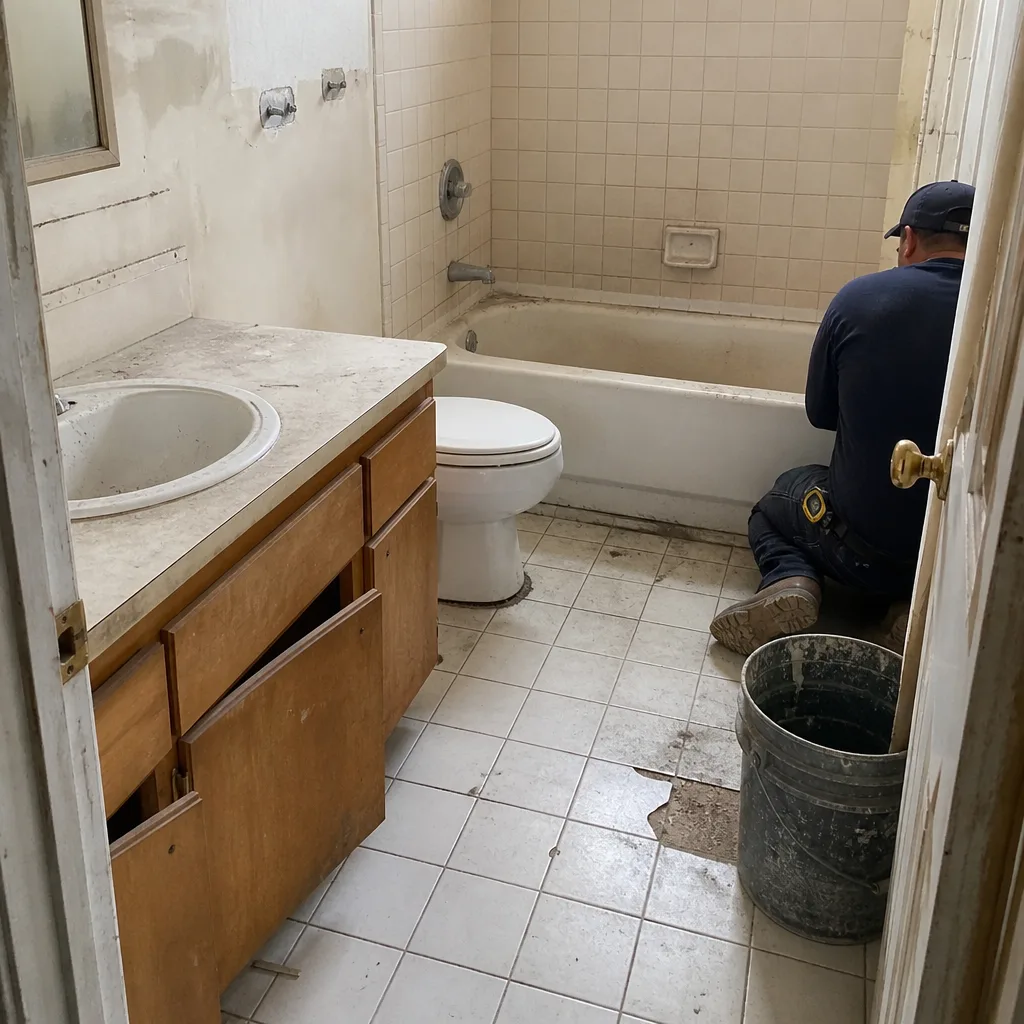 Before
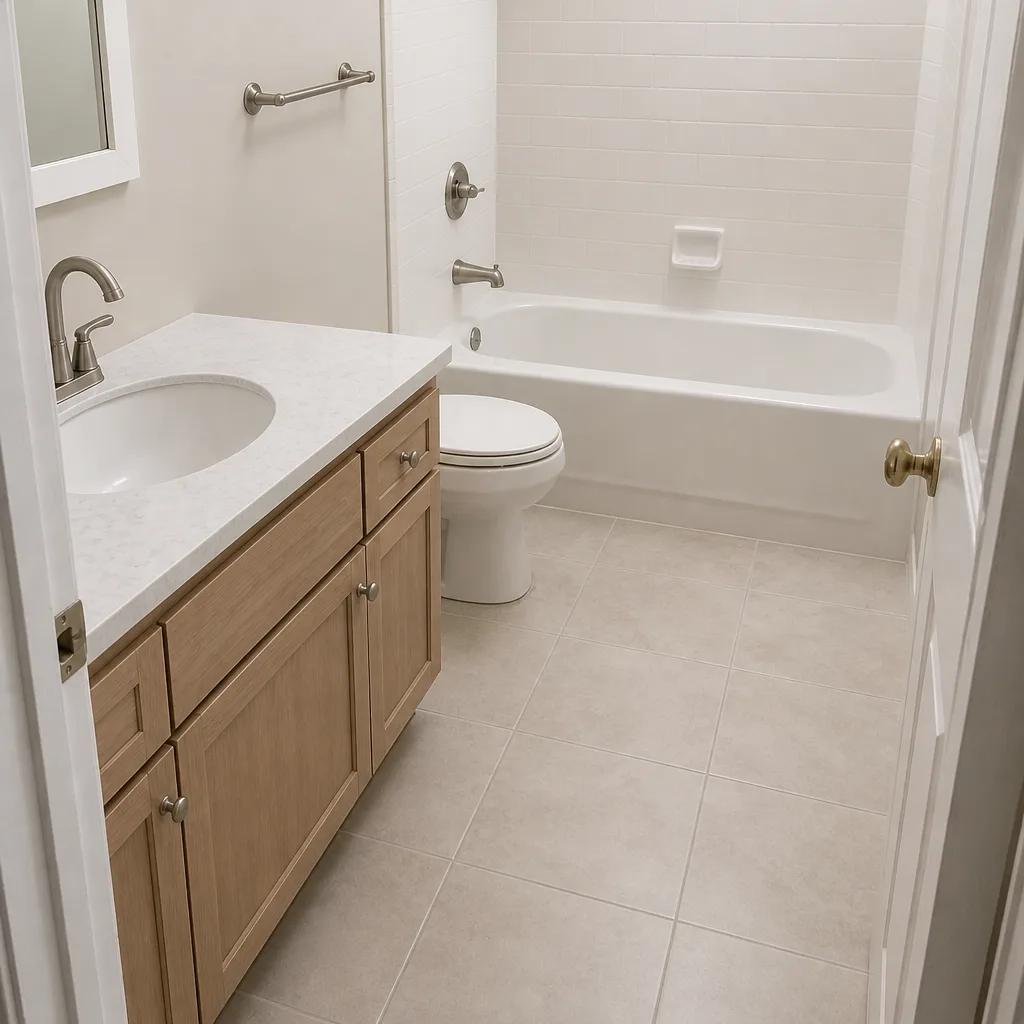 After
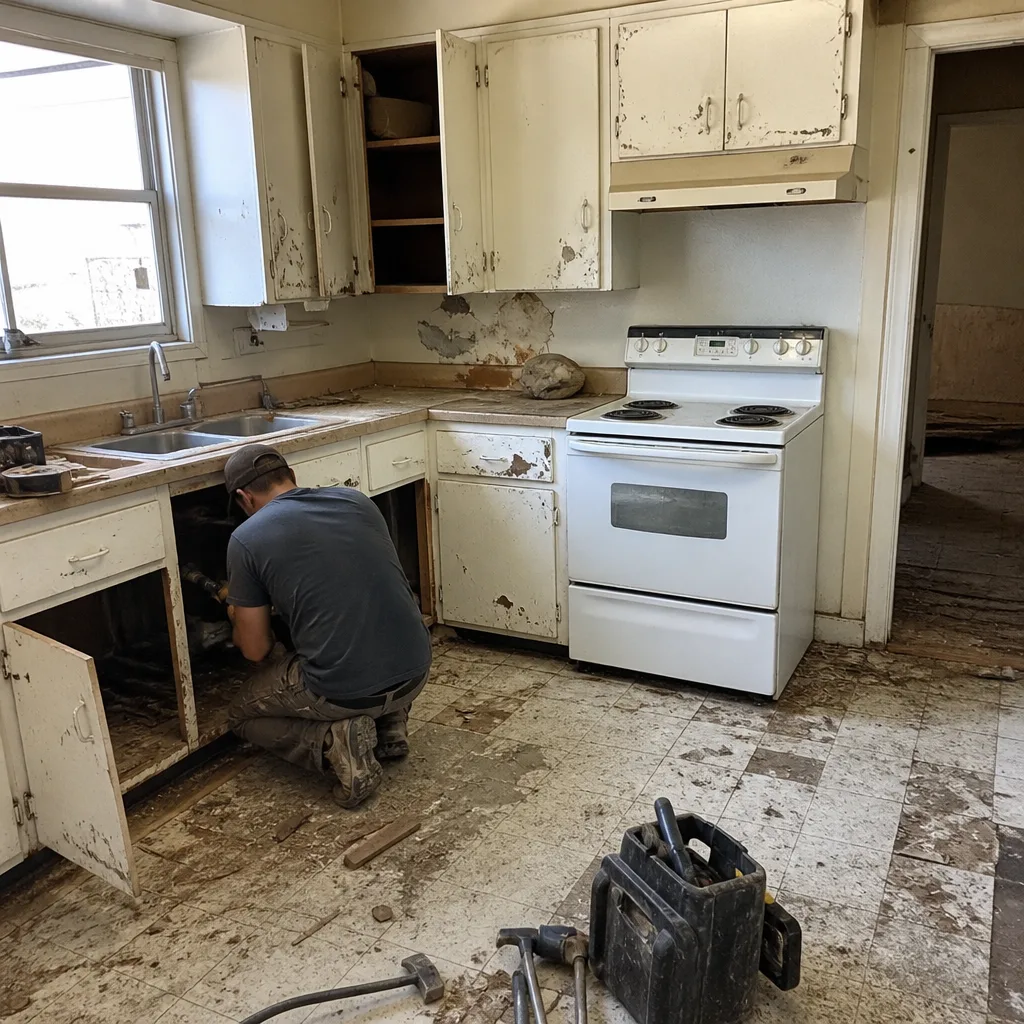 Before
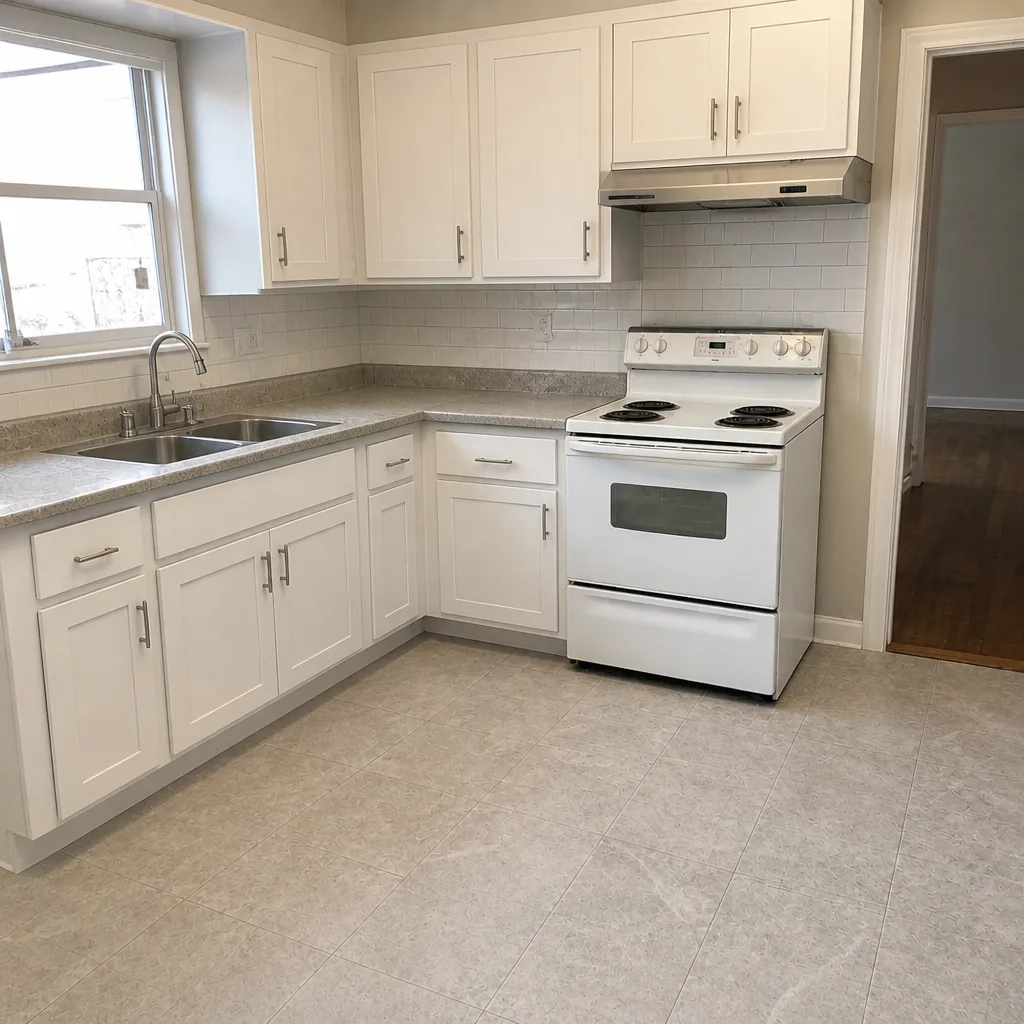 After
IGU Inspection Before Fogging Starts
An insulated glass unit (IGU) is the sealed sandwich of two panes that makes a window energy-efficient. When the edge seal fails, moisture enters the gap and eventually fogs the glass. By the time you see fog, the seal has been failing for months. You can catch it earlier with a bright light and a straight edge.
The inspection:
- At night, shine a bright flashlight at a low angle across the glass. Seal failure often shows a faint haze at the edge, a wavy pattern in reflected light, or a subtle gray line at the perimeter.
- Place a straight edge along the edge of the glass, parallel to the frame. A slightly uneven reflection pattern around the edge can indicate edge seal breakdown.
- Tap the glass lightly and listen. A dull sound near an edge can indicate a delaminated seal; a clear, consistent ring is normal.
- Look for condensation between panes, not inside the room. Interior condensation is a humidity problem; between-panes fog is a seal problem.
- Check for a slight ripple in the reflection that shifts when the sun hits the pane a certain way.
On Glendale homes with west-facing windows, the summer sun load speeds edge seal degradation. We see failed units more often on those elevations than on shaded north walls. Document any early hazing, because window and door warranties require you to show when the problem first appeared. If you’re weighing repair versus replacement, our Fence Installation in Glendale page isn’t the place to start; the right first call is the trade that installed the unit, and we cover how we assess that on the estimate.
Building a Maintenance Log
A written log does two things: it supports warranty claims and it gives the next contractor an accurate handoff. Most homeowners track nothing, then can’t produce a record when a manufacturer asks for proof of maintenance. A simple notebook or spreadsheet is enough, but consistent fields matter.
Record these for every task:
- Date and location: which window or door, by room or face.
- Task performed: weep hole clear, seal replacement, lubrication, glazing inspection.
- Product used: brand and type of lubricant, weatherstripping, caulk. Brand names matter for warranty review.
- Observation: what condition you found, in plain terms. “Sill soft at left corner” is useful; “looked okay” is not.
- Photos: one wide and one close-up per issue. Date-stamp if your phone does it.
Keep the log with your home records. When a manufacturer asks whether the product was maintained, a dated record is the proof. When you hand off maintenance or sell the home, a complete log reads as care, not paperwork.
At Rowan Construction Group, every visit includes a documented photo record on the job, which is how a homeowner gets evidence of what was found and what was done rather than a verbal summary. Copy the same discipline into your own log and you’ll have what a warranty or a future buyer needs.
When to Call a Professional
Most of this schedule is homeowner work. A few situations call for a pro. If you see water staining on interior drywall around a frame, glass fogging that’s spread across a wide area, a door that has dropped to the point where it drags on the sill, or a sliding door that won’t roll on new rollers, call. Those point to structural or glazing problems that homeowner maintenance can’t fix, and the sooner they’re caught, the cheaper the repair. If your maintenance log shows the same item failing repeatedly, that’s a sign the assembly needs replacement, not another repair.
Rowan Construction Group Glendale offers free estimates in Glendale and can review what you’ve logged. Our technicians have up to 19 years of experience, sources draw on vetted brands like CertainTeed and IKO, and every quote is a flat written price before any work starts. Call (844) 320-5930 to schedule.
Common Mistakes to Avoid
- Treating maintenance as one annual task. You’ll miss the six-month weathersealing items that cause most early failures. Run a spring and fall cycle.
- Never checking weep holes. In Glendale’s particulate air, they clog in 12 to 18 months. Most water damage we see at sills starts here.
- Using WD-40 as a long-term track lubricant. It’s a solvent, not a lubricant, and it degrades seals. Use silicone or dry PTFE on the right surface.
- Replacing weatherstripping by eye alone. Use the dollar-bill test or a flashlight at night. A seal that looks fine can fail the drag test.
- Waiting for fog before inspecting glazing. A bright light and a straight edge catch edge seal failure months earlier. That early record supports the warranty claim.
- Ignoring south and west elevations. Glendale sun on those faces speeds seal and glazing wear. Inspect them first each cycle.
- Scraping tracks with metal tools. It scores the finish and accelerates corrosion. Vacuum and a soft brush do the job.
Frequently Asked Questions
Every six months, in spring and fall. Glendale’s particulate load and pollen mean clogging starts within 12 to 18 months if left alone, and a clogged weep hole can turn a frame into a water trap. Clearing one takes about 30 seconds with a stiff wire. Call (844) 320-5930 for an exact quote if you find damage underneath – estimates are free.
The six-month items are weathersealing and drainage: weep holes, weatherstripping, door sweeps, caulk. The twelve-month items are hardware and glazing: lubrication and IGU inspection. The split exists because seals fail faster than glass and hardware. If you only do the annual list, you’ll miss the items that cause most water intrusion.
No, not as a long-term lubricant. WD-40 is a solvent-based product that evaporates and leaves a residue that attracts grit, and it can degrade rubber seals. On aluminum or vinyl tracks, use a silicone or dry PTFE spray. On wood windows, use paraffin or paste wax.
Shine a bright light at a low angle across the glass and look for hazing, a wavy reflection at the edge, or a gray line around the perimeter. If you see fog between the panes, the seal has failed and the unit needs replacement. Record the date, because window and door warranties require proof of when the issue first appeared.
Like-for-like replacement often doesn’t require a permit, but window replacement that changes the opening size or affects the structural frame may. Rules vary by jurisdiction, so confirm with the city before work begins. A written quote should state who pulls any required permit and who handles inspection. Call (844) 320-5930 to schedule a free estimate that clarifies the scope.
Not on a Rowan project. We deliver a flat written price before anyone picks up a tool, and no change proceeds until a change order is signed. The Free Second Opinion offer is standing: bring a competitor’s written estimate and we’ll review it line by line at no charge. Call (844) 320-5930 to schedule.
The Bottom Line
Window and door maintenance is three jobs on three clocks: hardware, weathersealing, and glazing. Separate them into a spring and fall six-month cycle for drainage and seals, and a twelve-month cycle for lubrication and glazing inspection. Clear weep holes every cycle; they clog fast in Glendale’s air and cause the sill damage we see most often. Use the dollar-bill test on every seal and the flashlight test on every pane. Keep a written log with dates, products, and observations. Most of this is an hour twice a year. The rest is knowing when to stop repairing and call in a pro with a written price.
Rowan Construction Group Glendale handles windows and doors alongside every trade under one written standard: a flat price before work starts, background-checked and uniformed technicians, a documented photo record on every visit, and the 365-Day Done Right Promise backed by The Haven Standard. Call (844) 320-5930 for a free estimate, or explore our Home Additions & ADU in Glendale and Driveway & Pavers in Glendale work to see how the same discipline carries across the trades.
Written by the team at Rowan Construction Group Glendale.