Last updated November 16, 2026


Free written scope consultation - allowances, timeline, and change-order rules on paper before a single trade is scheduled
Driveway & Pavers Warning Signs Every Homeowner Should Know
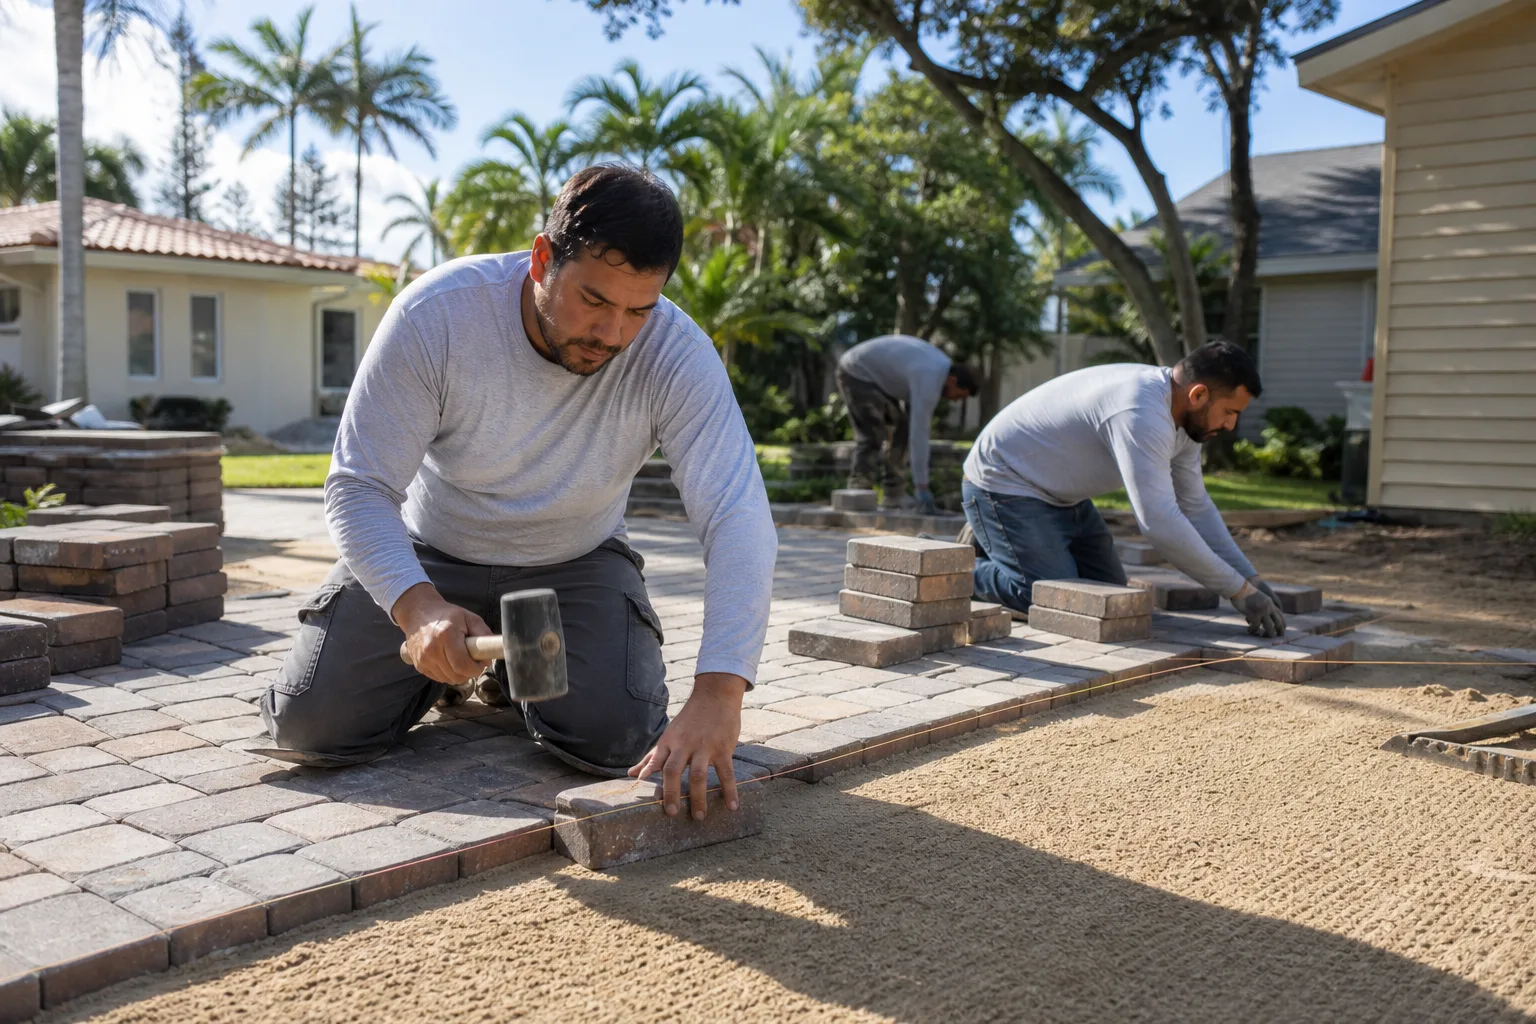
A single paver rocking underfoot in the middle of a driveway field is not a cosmetic annoyance. It’s the first sign that the bedding layer beneath it has displaced, and in our experience it usually means six to ten adjacent pavers are already loose even though they still look sound from standing height. The cost difference between acting on that one signal now and waiting until the field visibly humps is the difference between a targeted repair and a full-depth rebuild. This guide names each warning sign, tells you which condition it points to, and lays out what the repair costs at the early stage versus the failure stage. Everything here is written for Glendale homeowners dealing with hillside drainage, mature parkway trees, and clay soil that moves after a wet winter.
Quick Answer
Most driveway paver failures give 12 to 24 months of visible warning before full-depth excavation is the only option. The five signs that point to base failure are rocking pavers, sunken areas over 1/4 inch, sand washing out at the edges, weeds sprouting in the field joints, and a paver course lifting at the garage apron. The three surface-only signs are efflorescence (white haze), faded color, and minor chipping. Catch the base-failure signs early and you’re typically paying for localized repair; miss them and you’re paying for excavation of 300 to 600 square feet of driveway.
Styles & brands we work with
- Kitchen remodeling
- Bathroom remodeling
- Home additions & ADU
- Roofing
- Windows & doors
- Driveway & pavers
- Fence
Table of Contents
- The 15-Minute Visual Inspection Protocol
- The Five Warning Signs That Point to Base Failure
- The Three Signs That Are Surface-Only
- How Glendale Conditions Accelerate Warning Signs
- Cost Escalation: Repair Now vs. Rebuild Later
- What to Photograph Before You Call Anyone
- Joints, Edges, and the Garage Apron
- Can It Be Repaired, or Does It Need Replacing?
The 15-Minute Visual Inspection Protocol
You can run a meaningful inspection of a typical two-car driveway in fifteen minutes with nothing more than a walking pace, a golf ball, and your phone camera. Work in this order – edge to field to transitions – because problems cascade from the outside in.
- Walk the perimeter. Look at the paver-to-grade edge and the paver-to-fence line. If you can see daylight or a gap wider than a pencil between the edge pavers and the edge restraint, the restraint has moved or the bedding sand has washed. Any bedding sand collecting on the adjacent lawn or planting strip is a tell.
- Walk the center field diagonally. Stop every three or four steps and shift weight side to side on each foot. Listen for a dull click or feel the paver rock. Rocking in the center is the highest-priority signal because it means the bedding layer has displaced under load, not just at grade.
- Drop a golf ball at the center and watch the roll. A ball that rolls toward one corner of the driveway is showing you where the water is going – and where the base has settled. On a properly built driveway the water should leave near a drain or slope to the street. If it’s pooling against the garage, that’s a drainage problem already working on your foundation.
- Check the transition to the garage apron. This is the point where the paver field meets the concrete. A lifting course, a visible lip, or a crack in the concrete apron line itself all point to water running under the field.
- Look at the joints. Joint sand should sit just below paver chamfer. If the joints look deep and hollow, sand has been lost – either to rain runoff or to the bug-and-weed cycle that starts in failing joints.
Document each finding with a phone photo taken straight down from waist height with a coin or pen in the frame for scale. A dated photo baseline is worth more than a description when you’re getting estimates, because it lets a contractor see exactly what you saw and quote to it – not to a guess.
The Five Warning Signs That Point to Base Failure
Base failure means the compacted aggregate layer beneath the bedding sand has lost its structure. When that happens, surface repairs don’t hold because the pavers have no stable support. Here are the five signs we look for, in order of severity.
- Rocking pavers. A single paver that rocks underfoot is the earliest indicator of bedding layer displacement. In our experience, six to ten adjacent pavers are usually already affected even though they look flat from standing height. A rocking paver is the cheapest warning sign to catch and the most expensive to ignore.
- Sunken areas over 1/4 inch. A dip deeper than a coin standing on edge is a localized settlement. Dips under 1/4 inch are usually bedding-layer consolidation; dips over 1/2 inch are usually base failure under that section.
- Bedding sand loss at the edges. Sand washing out at the perimeter means the water is moving through the base, not just across it. Once the edge restraint is compromised, the paver field has no lateral support and will begin spreading outward.
- Weeds sprouting from field joints. Weeds in the center field mean the joint sand is depleted and the joint has opened below the surface. That’s not a weeding problem – it’s a structural gap in the pavement’s locking system.
- A lifting paver course at the garage apron. When the first course next to the apron lifts, it’s almost always because water is trapped under that transition point. That pressure heaves the course up in wet weather and drops it back when it dries out – the cycle is what breaks the base over 12 to 24 months.
If you see two or more of these together, the affected area is larger than the visible symptom. A single rocking paver plus edge sand loss plus weeds in adjacent joints is one problem in three places, not three small problems.
The Three Signs That Are Surface-Only
Not every visual issue means structural failure. Three signs look alarming but are usually cosmetic – though each has a threshold where it becomes something more.
- Efflorescence. The white powdery haze on paver faces is mineral salt that rises to the surface as moisture evaporates. It’s not a base problem. It’s common on new pavers in their first year and often clears with weather. If it keeps returning for years, the water is coming from under the base and needs a drainage review.
- Faded color. Paver pigments fade over time under UV – no paver brand we know of, from Belgard to Techo-Bloc, claims UV-color permanence beyond a warranty period. Faded color is a maintenance concern, not a structural one. A sealing regime slows it but does not reverse it.
- Minor chipping at paver edges. Chipping from a dropped tool or a car tire scuff is cosmetic. Chipping that spreads along the joints in a pattern usually means the joint sand is depleted and the pavers are rubbing against each other – that one has moved past surface-only.
The distinguishing question is simple: does the issue affect the surface of the paver, or the position of the paver? Surface issues don’t move. Position issues move, and moving means base.
How Glendale Conditions Accelerate Warning Signs
Glendale driveways have three local conditions working against them that most generic paver guides don’t account for. If your home sits in the hillside neighborhoods – Chevy Chase, the Verdugo Woodlands, or the streets stepping up toward Adams Hill – you’re dealing with all three at once.
- Hillside drainage across the driveway. On a sloped lot, water that should sheet off the property sheets across the driveway instead. Every wet season pushes water through the paver joints and into the base. That’s why we see edge sand loss on hillside properties far earlier than on flat-lot driveways of the same age – often within three or four seasons of a new install.
- Parkway tree roots. Glendale’s mature parkway trees, particularly the jacarandas and the older ficus and liquidambar trees on many streets, push roots under driveway aprons and edge restraints. Root uplift is the single most common cause of a lifting first course at the garage apron that we look at in Glendale. If the lift runs in a line toward the street, suspect a root.
- Clay soil heave after wet winters. Much of Glendale sits on expansive clay that swells when it takes on water and shrinks back in dry months. That cycle is what creates the repeated lift-and-settle motion at the garage apron transition. It’s also why a driveway that looks fine in August can show a lifted course by February after a few atmospheric river events.
Our technicians have up to 19 years of experience and we’ve watched this cycle repeat across enough Glendale properties to know that the timing of the inspection matters. The right time to inspect a Glendale driveway is late winter or early spring – right when the clay has finished swelling – not in the middle of a dry summer when everything looks flat.
If you want a broader view of how we approach paver installation and repair in these conditions, the Driveway & Pavers in Glendale page goes deeper on base prep and drainage. Driveways aren’t the only hardscape affected by hillside drainage either – fences on sloped lots see rot and post movement from the same water, which the Fence Installation in Glendale page addresses.
Cost Escalation: Repair Now vs. Rebuild Later
This is the section worth screenshotting. The cost difference between repairing at warning-sign stage and repairing at failure stage is not a small percentage. It’s often three to five times the money – and the reason is that every warning sign you catch early is a localized repair, while every sign you miss is a full-field excavation.
These figures are line-item ranges for the Glendale market, based on typical paver types including Belgard and Techo-Bloc, and premised on the driveway being concrete-paver-over-aggregate-base as most modern Glendale driveways are:
- Rocking paver, 1-3 pavers: $180-$420 at warning-sign stage (relay affected pavers, replace bedding sand, re-sand joints). $2,800-$5,400 at failure stage (excavate 100-250 sq ft, rebuild base, relay).
- Sunken area over 1/2 inch: $350-$750 localized (break out affected field, re-compact base, relay). $3,200-$6,800 for a section rebuild of 200-400 sq ft after the substrate has failed through.
- Sand loss at edge with displaced restraint: $250-$600 (reset edge restraint, replace sand, re-sand joints). $4,000-$8,500 if the field has spread, because the whole perimeter must be re-locked and the affected courses relayed.
- Weeds in field joints: $120-$280 (deep joint sand replacement and re-sand across the field). $2,500-$5,000 if the joint depletion has let the pavers migrate and a section needs resetting.
- Lifting course at the garage apron: $400-$900 (relay the first two courses, correct drainage pitch at the transition). $3,500-$7,200 if water intrusion has damaged the apron substrate underneath – often the case on hillside Glendale lots.
Two things drive the gap. First, excavation: once the base is failed, a crew is pulling up every paver in the affected field, breaking out the aggregate, re-compacting in lifts, and relaying. Second, matching: if the original paver is discontinued or the color lot has shifted, a section rebuild sometimes requires replacing more than the failed area to keep the field looking uniform. That matching cost is real, and it’s why catching the problem while the field is intact matters so much.
We put the price in writing before any work starts, and we provide a free second opinion on any written estimate you’ve collected elsewhere. If you’ve already had a quote and want a line-by-line review, that’s what the second opinion is for.
What to Photograph Before You Call Anyone
A photo record taken before any contractor arrives is your baseline. It’s what lets you verify that the scope you’re quoted matches what you saw, and it’s what protects you if the crew finds something on day one that wasn’t on the original quote. Our Haven Standard calls for a documented photo record on every visit as a standard deliverable, not an add-on – but the record is twice as useful when you own the “before” side.
- Take one wide shot from the street, straight on. Frame the full driveway width. Note the date in your phone’s notes.
- Lay a 4-foot level or a straight edge across the sunken area or lifting course and photograph the gap at the low end. This quantifies the dip; “it looks low” is not quotable, “3/8 inch over 48 inches” is.
- Photograph every rocking paver with a coin on top for scale and one clear shot of the joint around it.
- Photograph the edge sand loss – the exposed restraint, the sand on the adjacent soil, and the joint gap at the perimeter.
- Photograph the transition to the garage apron from both sides if you can, including the concrete apron line.
- Photograph any weed growth in field joints with the roots pulled so the joint depth is visible.
- Photograph any staining, cracking, or movement on the garage slab adjacent to the apron. Drainage failures at the driveway move water against the foundation, and that’s the finding that changes the overall scope.
Take the same set of photos after the work is done. Two dated records, then and now, are how you keep a warranty claim defensible five years from now.
Joints, Edges, and the Garage Apron
Most of what fails in a paver driveway fails at a boundary. The joint sand is the pavement’s locking system, the edge restraint is what keeps the field from spreading, and the garage apron is where water moving under the driveway finds its exit. Each has its own inspection logic.
Joints. Sand-filled joints sit slightly recessed below the paver chamfer. What you don’t want is a joint where the sand has sunk an inch or more and left a hollow channel. That hollow means the field has opened, and the pavers are now relying on friction instead of interlock to hold position.
Edges. The edge restraint (the plastic or metal channel embedded at grade under the outer paver course) should be hidden under the paver edge and pinned into the grade. Look for the paver edge itself wandering outward, for daylight between the paver and the restraint, and for sand accumulation on the soil or lawn side. Any of the three means the field is spreading.
Garage apron. This is the highest-value inspection point on the entire driveway. Water that runs under the field has to go somewhere, and the garage apron transition is usually where it goes. Standing water against the apron after rain, a lip with the concrete, or a lifting paver course in line with a parkway tree root are all on the same list. If you see water pooling against the garage wall or a crack line on the slab, the driveway is telling you about a foundation drainage issue, not just a paver issue.
Can It Be Repaired, or Does It Need Replacing?
Most warning-sign-stage driveways can be repaired without a full replacement. The threshold we apply is simple: how much of the field has lost base support? If the affected area is localized and the surrounding field is still locked and level, a targeted repair works and holds. If the failed area spans more than about a quarter of the driveway, or the perimeter is spreading along multiple edges, the repair economics tilt toward rebuilding – because every localized repair on a migrating field will be redone.
Three questions decide it:
- How many square feet are actually affected once you probe under the visible dip? (A one-paver dip often turns out to be 30 to 60 sq ft once the field is opened.)
- Is the water coming from under the field or from the surface? Under-field water means the base will keep failing after repair unless drainage is corrected.
- Can the original paver be sourced, or does the field color-lot need a replacement match? This is often the deciding factor on whether a repair stays targeted or grows.
For Glendale homes looking at larger hardscape changes at the same time as a driveway rebuild – a rear patio, a pool deck, or a detached ADU on the property – it’s worth coordinating the work. The Home Additions & ADU in Glendale page covers how we sequence site drainage and hardscape together so water moves off the whole property rather than just off the driveway. Start broad with the Rowan Construction Group Glendale home page if you want the full picture of how we quote across all seven trades.
Common Mistakes to Avoid
- Treating a rocking paver as cosmetic. A paver that rocks today will usually fail its neighbors within a season. Relaying one paver without checking the six around it just kicks the problem down the field.
- Top-dressing the joints instead of replacing the sand. Adding a layer of joint sand over a hollow joint hides the problem without restoring the interlock. The right repair is deep joint sand replacement, done with a stiff broom and compacted in.
- Ignoring water pooling against the garage wall. On hillside Glendale lots, driveway drainage issues become foundation moisture issues within a few seasons. If you’ve seen standing water against the apron after rain, get it looked at before you reseal the garage slab.
- Buying a “sealing” as the first fix. Sealing slows UV fade and repels surface water. It does not repair base failure, and sealing over a failed base locks the problem in. Seal after repair, not instead of it.
- Hiring on a verbal range instead of a written price. On a paver repair of a few thousand dollars the temptation to skip the paperwork is real – but the difference between a scope that matches what you photographed and one that doesn’t is discovered in the excavation, not in the quote meeting.
- Skipping the second opinion on a rebuild quote. Rebuild quotes on Glendale driveways commonly come in well above a targeted repair. If a contractor quotes a full replacement on a driveway you suspect is localized, get a second opinion before signing.
- Not photographing the “before.” Without a baseline photo record, you can’t verify the crew’s scope, and you can’t defend a warranty claim later when the field has moved again.
See the difference
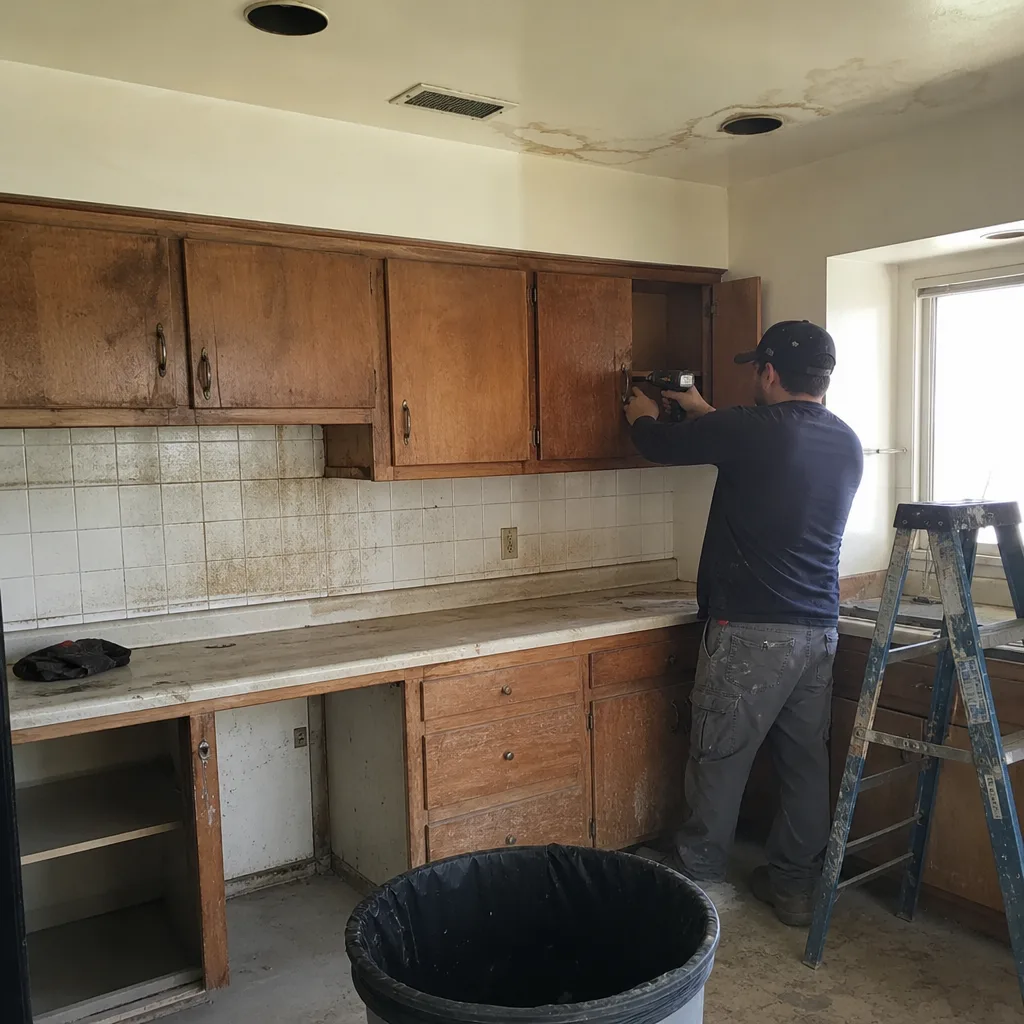 Before
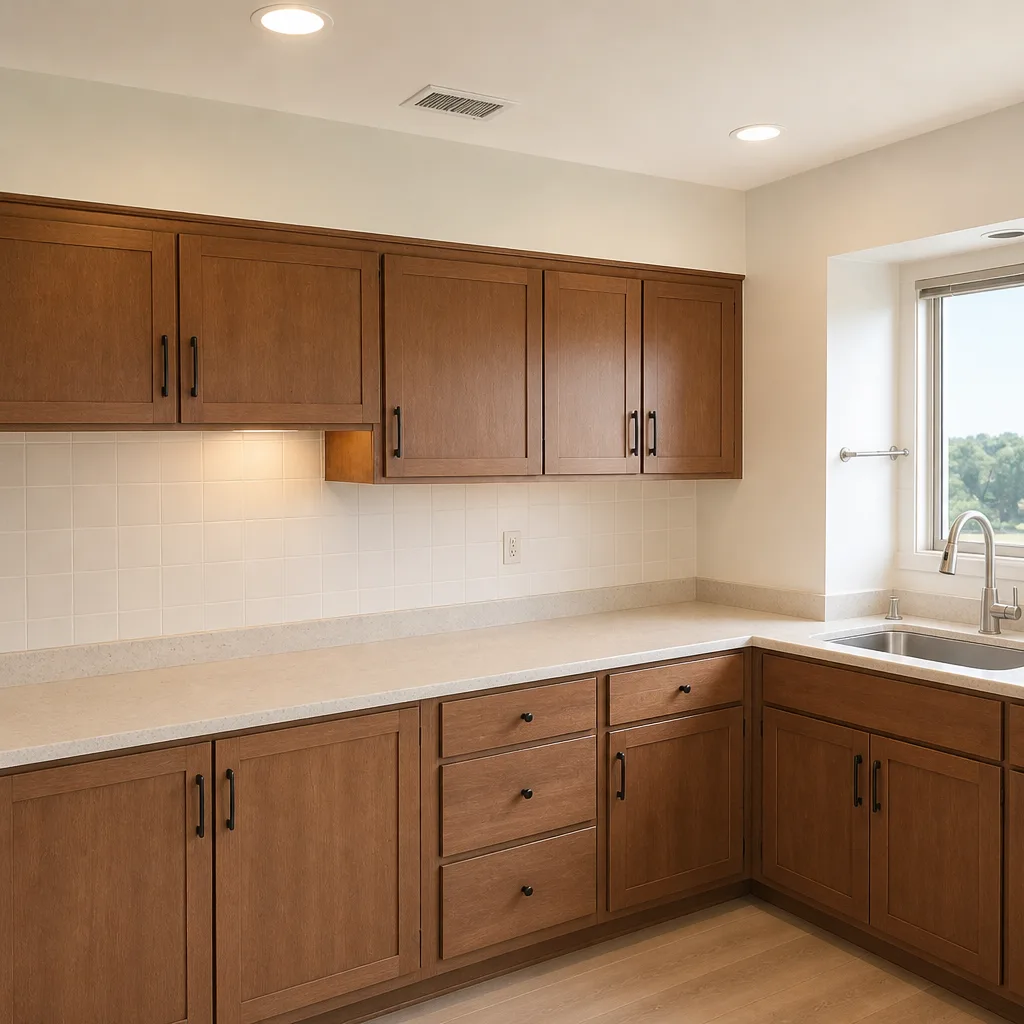 After
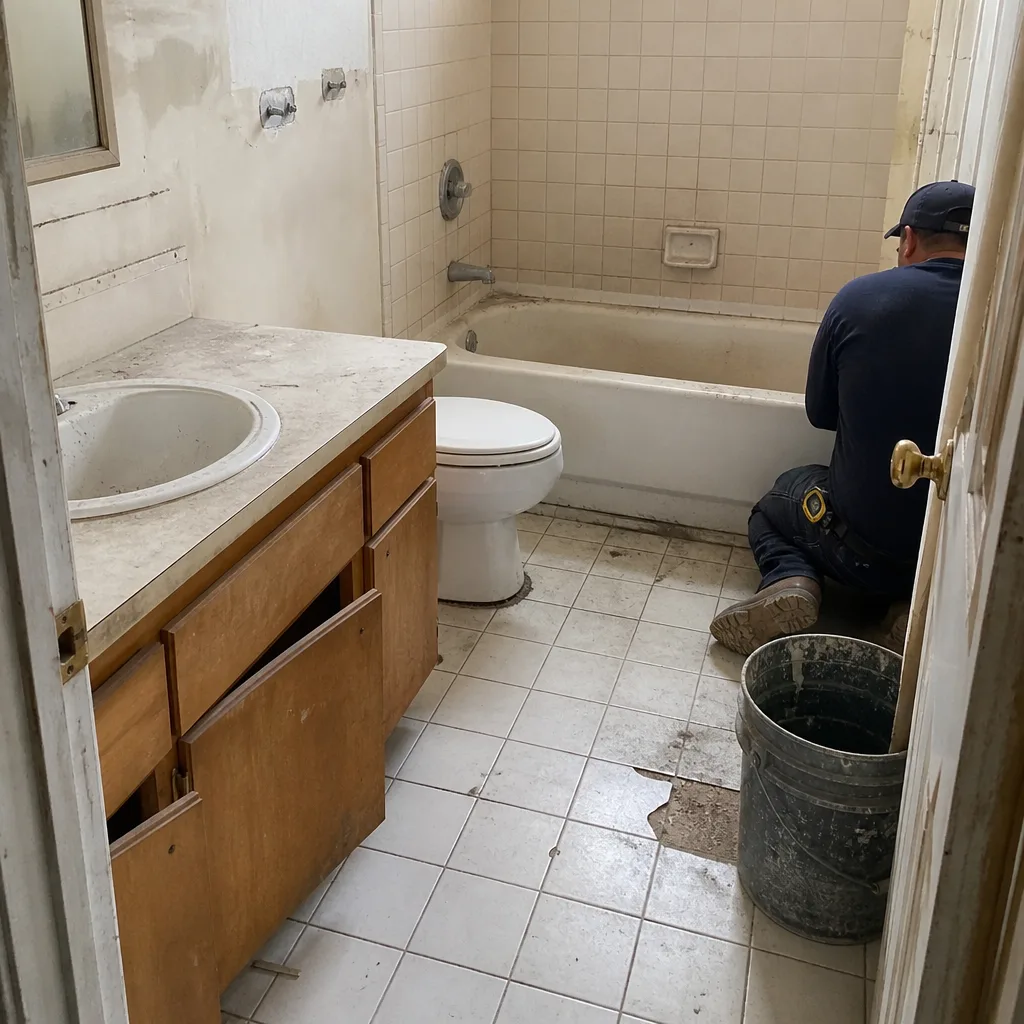 Before
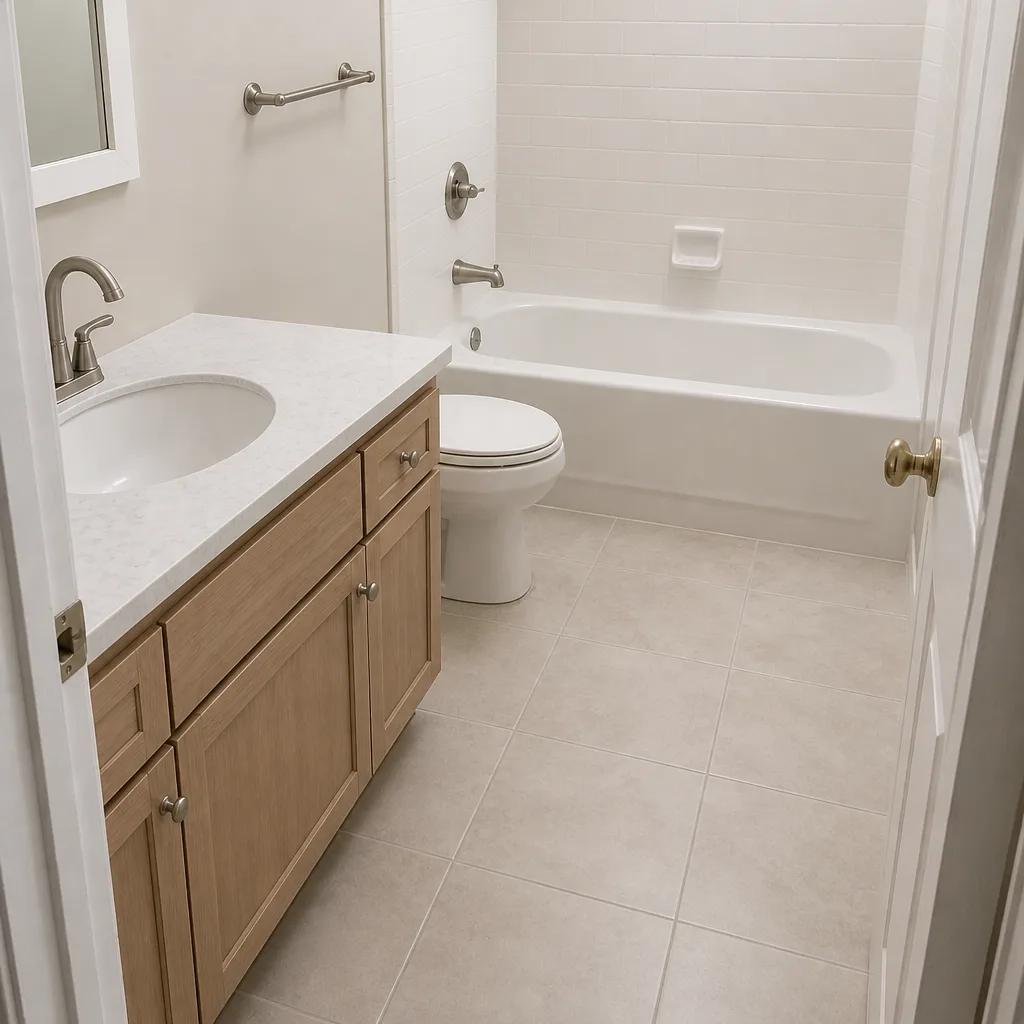 After
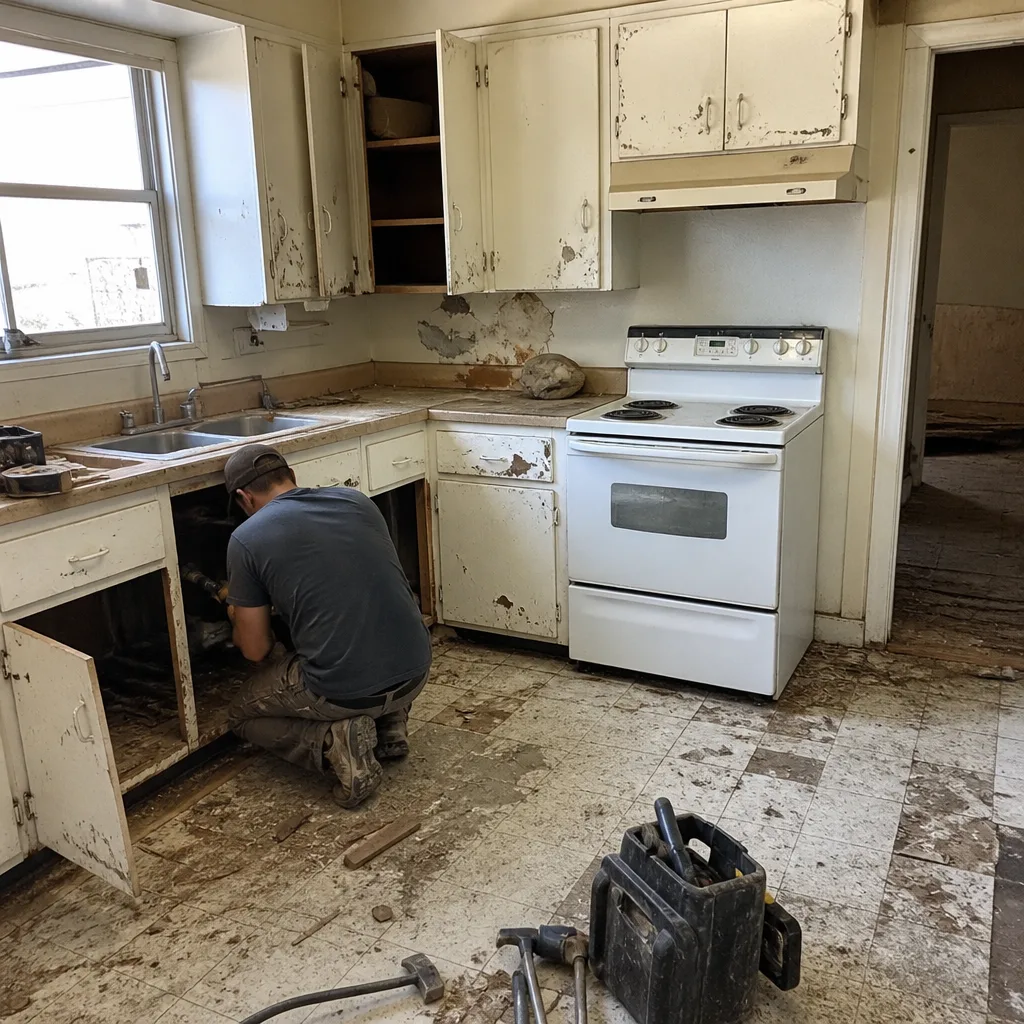 Before
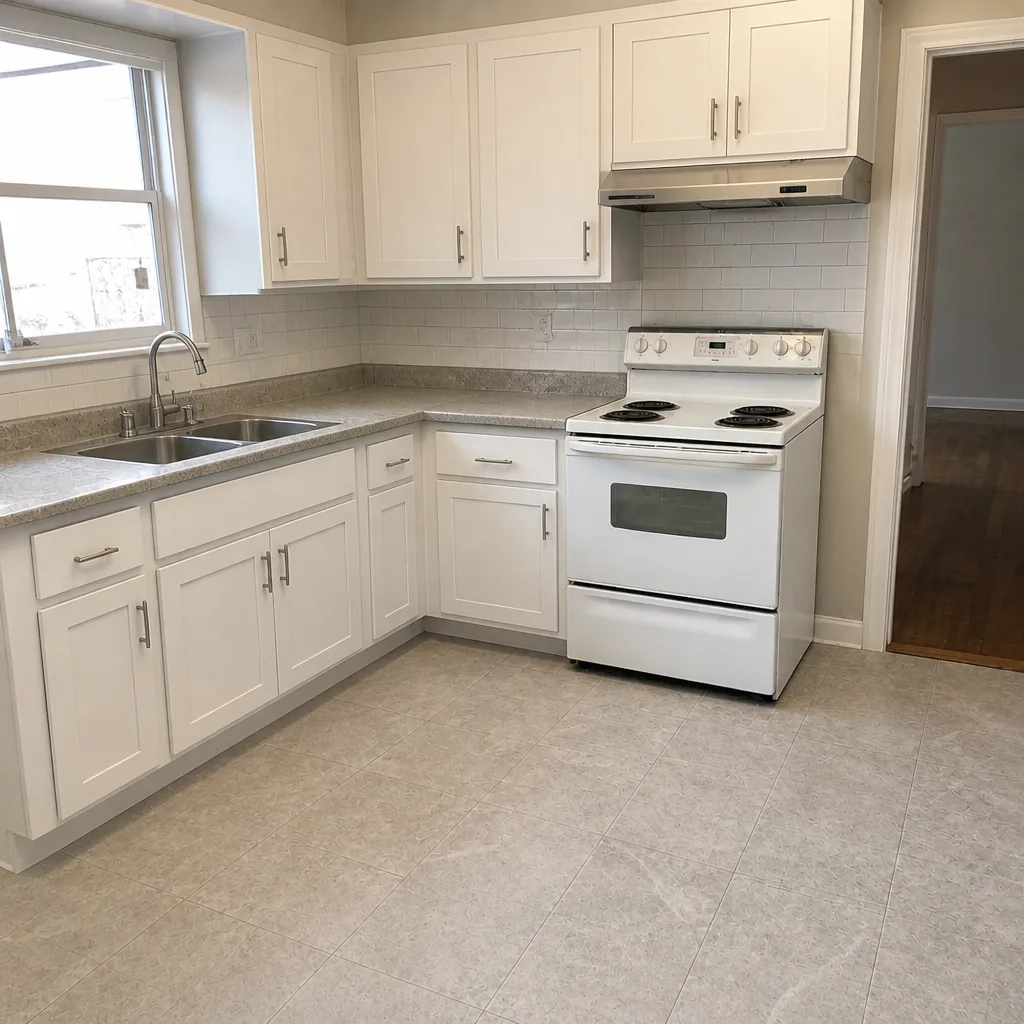 After
When to Call a Professional
If any of these match your driveway, have it looked at by a trained contractor: two or more rocking pavers in the center field, a dip deeper than 1/2 inch on a 4-foot straight edge, sand accumulating at the edges, a lifting course at the garage apron that resets each season, weeds returning in the same joints every year, or standing water against the garage wall after rain. Don’t try to excavate a paver field yourself – the base rebuild requires compaction equipment and lifts that a DIY approach won’t match, and the risk of creating an uneven base that fails in 18 months is high.
Rowan Construction Group Glendale offers free estimates in Glendale – call (844) 320-5930. Our technicians have up to 19 years of experience, every visit includes a documented photo record as a standard deliverable, and every repair is priced in writing before any work starts. Every project is backed by the 365-Day Done Right Promise: if it isn’t done right, we make it right.
Frequently Asked Questions
Targeted paver repair in Glendale typically costs $250 to $900 for a localized issue like a rocking paver group, a small sunken area, or a lifting first course at the garage apron. A section rebuild after base failure typically runs $2,500 to $8,500 depending on square footage and whether the original paver is still available. Call (844) 320-5930 for an exact quote – estimates are free and every price is delivered in writing before work starts.
A single paver rocking underfoot in the center of the driveway field is the earliest reliable warning sign. It means the bedding sand beneath that paver has displaced, and in our experience six to ten adjacent pavers are typically already affected even though they still look flat. Getting it looked at at this stage is the difference between a $200-$400 repair and a $3,000-plus section rebuild.
A properly built paver driveway over a compacted aggregate base typically lasts 25 to 30 years in Glendale, provided the base and drainage are correct. The variable is Glendale’s clay soil and hillside runoff – driveways on sloped lots with parkway tree roots often need their first targeted repair in year 8 to 12, while flat-lot driveways over well-drained grades usually go 15-plus years before any repair. The difference is drainage, not paver quality.
You can safely photograph and document pavers yourself, and you can re-sand shallow joints as routine maintenance. You should not excavate and rebuild the base under a paver field yourself. Rebuilding a base requires compaction in lifts with a plate compactor and a properly pitched drainage grade – a DIY rebuild that misses either often fails within two seasons. Call (844) 320-5930 for a written quote on any repair beyond joint sand replacement.
Sealing slows UV fade and repels surface water, which is useful maintenance on any paver driveway. Sealing does not repair base failure and should not be applied over a failed field. If you have rocking pavers, sunken areas, or sand loss at the edges, get those repaired first, then seal. Call (844) 320-5930 for a free estimate on repair and sealing together.
No. Under the Haven Standard, no work proceeds on a change until a change order is signed. That means the price we write before work starts is the price you pay unless you approve a documented change in writing. If our crew finds a condition during excavation that wasn’t visible before – for example, a failed base section under what looked like a surface issue – we stop, photograph the finding, and bring you a signed change order before touching anything further. That’s the discipline behind finishing projects within a few percent of the agreed cost.
The Bottom Line
Driveway paver failure is a slow process with a long warning window. The one rocking paver, the 3/8-inch dip, the sand at the edge, the lifting course at the garage apron – each is a signal pointing to a specific condition, and each is cheap at the warning-sign stage and expensive at the failure stage. Glendale’s hillside drainage, parkway tree roots, and clay soil heave make that window shorter here than in most of the region. Photograph what you see, get a written price before any work starts, and take the second opinion when you’ve had a rebuild quote. Catching problems early is the whole game.
Call (844) 320-5930 to schedule a free estimate in Glendale. Every price is written before any work starts, every visit includes a documented photo record as standard, and the 365-Day Done Right Promise backs the work – if it isn’t done right, we make it right.
Written by the team at Rowan Construction Group Glendale.