Last updated November 16, 2026

Free written scope consultation - allowances, timeline, and change-order rules on paper before a single trade is scheduled
DIY vs Professional Windows & Doors: What’s Safe to Do Yourself
In California, a window replacement that changes the rough opening size by even one inch requires a building permit and a Title 24 energy compliance calculation. A homeowner who orders a window 1 inch narrower to simplify installation has just created an unpermitted modification, with no visible sign that anything is wrong until the house sells. That gap, between the physical task and the regulatory one, is where most DIY window and door projects go sideways. This guide separates the two so you know exactly what you’re taking on before you order a single unit. We’ll cover what’s genuinely within reach for a careful homeowner, what isn’t, and how the rules play out in Glendale.
Quick Answer
Weatherstripping, hardware adjustment, screen repair, and interior casing are safe, sensible DIY jobs. Full window and door replacement is not, because the permit, the flashing and sill pan sequence, and the Title 24 energy compliance paperwork are the parts that carry real risk, and none of them are optional in Glendale. If the rough opening changes by even an inch, you’re in permit territory, and a homeowner-installed unit frequently fails the compliance documentation step at close.
Styles & brands we work with
- Kitchen remodeling
- Bathroom remodeling
- Home additions & ADU
- Roofing
- Windows & doors
- Driveway & pavers
- Fence
Table of Contents
- When Does California Require a Permit for Window Replacement?
- What “Same-Size” Legally Means Under the Building Code
- What’s Actually Safe to Do Yourself
- The Flashing and Sill Pan Sequence
- Energy Compliance: The CF1R and CF2R Forms
- Real Cost Comparison: DIY vs Professional
- A Numbered Walkthrough of the Professional Sequence
- How Glendale Conditions Shape the Decision
When Does California Require a Permit for Window Replacement?
California requires a building permit for any window replacement that alters the rough opening, changes the unit’s dimensions, or changes the egress configuration. A true same-size swap (same width, same height, same location) is generally exempt from a building permit, but it still has to meet Title 24 energy requirements, and the compliance documentation has to exist somewhere in the record. That exemption is narrower than most homeowners assume.
Here’s the practical breakdown for a typical Glendale bungalow or a 1980s tract home in the Verdugo Woodlands:
- Same-size, same-type swap: Usually no building permit, but Title 24 compliance still applies and a permit-ready package is the safest route.
- Rough opening changed by any amount: Building permit required. There is no “just one inch” exemption.
- Window converted to a door: Building permit required, plus structural review if the opening bears load.
- Egress window change in a bedroom: Permit required, plus a check against the emergency escape and rescue opening requirements.
- New window in a new wall opening: Permit required, framing inspection included.
The threshold question you have to answer before ordering is simple: does the new unit fit the exact existing rough opening, or doesn’t it? If it doesn’t, the mechanical task just became a regulatory one. We’ve reviewed dozens of homeowner estimates at the free second-opinion stage where the ordered unit was a fraction of an inch off, and the homeowner had no idea the permit question had already flipped.
What “Same-Size” Legally Means Under the Building Code
“Same-size” means the rough opening framed into the wall is unchanged, not that the visible glass area matches what you had before. Under the California Building Code, the rough opening is the framed hole the window unit sits in, measured stud to stud and header to sill. You can swap a single-hung for a double-hung in the same rough opening, but you cannot shave the frame to fit a slightly smaller unit without triggering a permit.
There’s also an energy calculation behind “same-size.” Every window has a U-factor (how fast heat moves through it) and a Solar Heat Gain Coefficient, or SHGC, which is how much solar heat it lets in. Swap in a unit with a lower-performance rating than the one you removed and you’ve technically degraded the envelope, even if the size is identical. The building department may not catch it on a same-size swap, but a buyer’s inspector or an appraiser can, and that’s where the paperwork gap gets expensive.
A few points that come up on nearly every Glendale job we look at:
- Ordered units that are 1/4-inch undersized to “make fitting easier” are the single most common reason a same-size swap becomes a permitted alteration after the fact.
- Replacement window inserts (pocket replacements) preserve the rough opening but do not satisfy Title 24 new-construction performance in every zone; check the climate zone before you buy.
- Historic-district properties in Glendale, particularly near Brand Park and along some of the older streets in northwest Glendale, can carry additional design review on top of the standard permit.
- Sliding glass patio doors have their own panel and track dimensions; “same-size” for a slider includes the track width.
What’s Actually Safe to Do Yourself
Plenty of window and door work belongs in the DIY column, and staying in that column keeps the permit question off the table entirely. The tasks below take an afternoon, need hand tools you probably already own, and don’t touch the rough opening or the energy envelope.
Weatherstripping replacement
Time: 45 minutes to 2 hours per door. Tools: utility knife, putty knife, screwdriver, new weatherstrip kit. Peeling weatherstripping lets cold air and dust in through the gap between the door slab and the jamb. Replace the strip around the frame and the sweep at the bottom. This is the highest-value DIY job in the whole category because it costs under $40 in materials and stops a draft that a homeowner has been blaming on the window for years.
Hardware adjustment
Time: 20 to 60 minutes. Tools: screwdriver, hex key set, maybe a hinge wrench. A door that drags, sticks, or won’t latch is almost always a hinge adjustment or a warped strike plate. Tighten the top hinge screws, loosen the bottom, and re-check the swing. Window crank handles, locks, and rollers are replaceable on most American Standard and similar hardware lines without removing the sash.
Screen repair and replacement
Time: 30 to 60 minutes per screen. Tools: spline roller, utility knife, new screen mesh and spline. Rescreening is a genuinely beginner-friendly task. The mesh and spline cost a few dollars per window, and a spline roller is about $10. Do not attempt from a ladder above the first floor without someone stabilizing it.
Interior casing and trim
Time: 2 to 4 hours per window. Tools: miter saw (or miter box), brad nailer, caulk, painter’s tape. Replacing interior casing is a cosmetic job that stops at the wall face. It doesn’t touch the flashing, the sill, or the envelope. It’s a good confidence-builder for a homeowner who wants to take on more later.
The Flashing and Sill Pan Sequence
Flashing is the waterproofing layer that sheds water away from the wall opening, and the sill pan is the rigid, sloped tray that sits at the bottom of the rough opening to catch any water that gets behind the unit. Get the sequence wrong and you will not see the damage for one to three years. By then it’s a $2,000 to $8,000 remediation, depending on how far the rot has spread into the framing and the interior wall.
Here is the order that a professional crew follows, and the part a homeowner who skips a step usually gets wrong:
- Sill pan first, with sloped back edge. The pan goes in before the window unit and slopes toward the exterior. A flat or backward-sloping pan traps water against the sheathing.
- Corner flashing at the bottom of the opening, lapped over the pan, not under it.
- Window unit set and shimmed level, checked in both directions.
- Side flashing applied over the side flanges, lapped behind the building paper and over the sill flashing.
- Head flashing last, lapped over the side flashing so water runs over the top and down the sides rather than into the wall.
- Sealant only where required, and never as a substitute for flashing.
The inverted sequence (head flashing before side, or sealant in place of corner flashing) is the failure we see most often on Glendale homes where a previous replacement was done by a well-meaning homeowner. On a decade-old stucco house in Adams Hill or Sparr Heights, the tell is often a soft drywall patch under the window that the homeowner has “always meant to fix.” Stucco cracks at the corner reveal where water got in and froze into the sheathing.
This body of work is where we recommend stopping. Climbing a ladder to check the head flashing is one thing; pulling the unit and reinstalling it on a second-story wall is another. The safety risk alone, and the falsified confidence that comes from a first install going “mostly fine,” is enough reason to hand it to a crew. For exterior envelope and structural work that extends beyond windows, the same logic applies across Rowan Construction Group Glendale home services.
Energy Compliance: The CF1R and CF2R Forms
California’s Title 24 energy standards require two documents to close out a permitted window replacement: the CF1R, which is the energy compliance report generated before the work begins, and the CF2R, which is the installation certificate signed at the end confirming the installed fenestration matches the report. A homeowner-installed window frequently fails this step because no one generated a CF1R before the work started, and the CF2R has nothing to match against.
What that failure looks like at the building department counter:
- The permit application is rejected because no CF1R was submitted with the plans.
- The permit is issued, but the final inspection can’t be signed off without the CF2R, so the project sits in a stalled state.
- The unit was installed with a U-factor or SHGC that doesn’t match the compliance report, which triggers a CEDA (compliance and enforcement) review.
- The homeowner sells the home and a buyer’s report flags an unpermitted window replacement, which triggers a retroactive permit and sometimes a reinstallation.
The energy compliance report isn’t red tape for its own sake. Every California climate zone carries minimum U-factor and SHGC requirements under Title 24, and Glendale sits in a climate zone that pushes toward lower SHGC to reduce afternoon cooling load in the Verdugo foothill heat. A window with a slightly higher SHGC than required passes the eye test and fails the paperwork. The building department will not catch it until the close-out, and by then the crew (or the homeowner) is pulling units to replace glass. Skipping the compliance package to save a few hundred dollars up front is the shortest route we know to a five-figure remediation.
Real Cost Comparison: DIY vs Professional
On paper, DIY window installation looks like a $200-per-window savings (the difference between the unit cost and the installed cost). In practice, the savings evaporate the moment a callback is required. Here is what we’ve documented on Glendale jobs following a failed DIY first attempt, and what the homeowner spent to fix it:
- Rough opening was sized wrong (unit skipped): $400 to $900 to re-order and reinstall a correctly sized unit, plus the cost of returning the original if it’s outside the return window.
- Flashing sequence wrong, water intrusion found at year two: $2,000 to $8,000 to open the wall, replace sheathing, reframe the opening, reinstall the window, and patch the interior and exterior finish.
- Title 24 paperwork missing at permit close: $800 to $2,000 to retroactively generate the CF1R and CF2R, plus the permit re-review and the risk of a CEDA review.
- Unpermitted rough-opening change discovered at sale: $3,000 to $12,000, covering the permit, inspections, any required remediation, and the buyer’s negotiation leverage taken out of the sale price.
- Schedule cost of a professional re-do: a few days to a week of downtime, depending on how many windows are involved and whether exterior stucco work is required.
Against that, a professionally installed window in Glendale runs roughly $650 to $1,400 per unit for a standard vinyl or fiberglass replacement, or $1,200 to $2,400 for a wood-clad unit, inclusive of permit and compliance package. The math is not close once any callback is in play. The homeowner who tries one window and succeeds saves money on that window. The homeowner who tries one and fails pays for it three times over.
Free Second Opinion on Any Written Estimate
Bring a competitor’s quote and we’ll review it line by line at no charge. We’ve found undercounted flashing line items, missing compliance fees, and windows ordered in the wrong SHGC range for the Glendale climate zone. The review is the fastest way to know whether a DIY quote or a professional quote is honestly priced, and it doesn’t commit you to anything. If you’re working through Home Additions & ADU in Glendale, window budgets and permit sequencing have to be set together, and the second opinion covers that too.
A Numbered Walkthrough of the Professional Sequence
This is what a documented install looks like from the inside. We’re listing it so homeowners can compare any estimate, ours included, against the real work steps. Each step is something we photograph on the visit photo record.
- Measure and confirm the rough opening and the climate zone. Ordered units are checked against the framed opening and the Title 24 requirement for the zip code.
- Pull the permit and generate the CF1R. The compliance report exists before the work begins, not after.
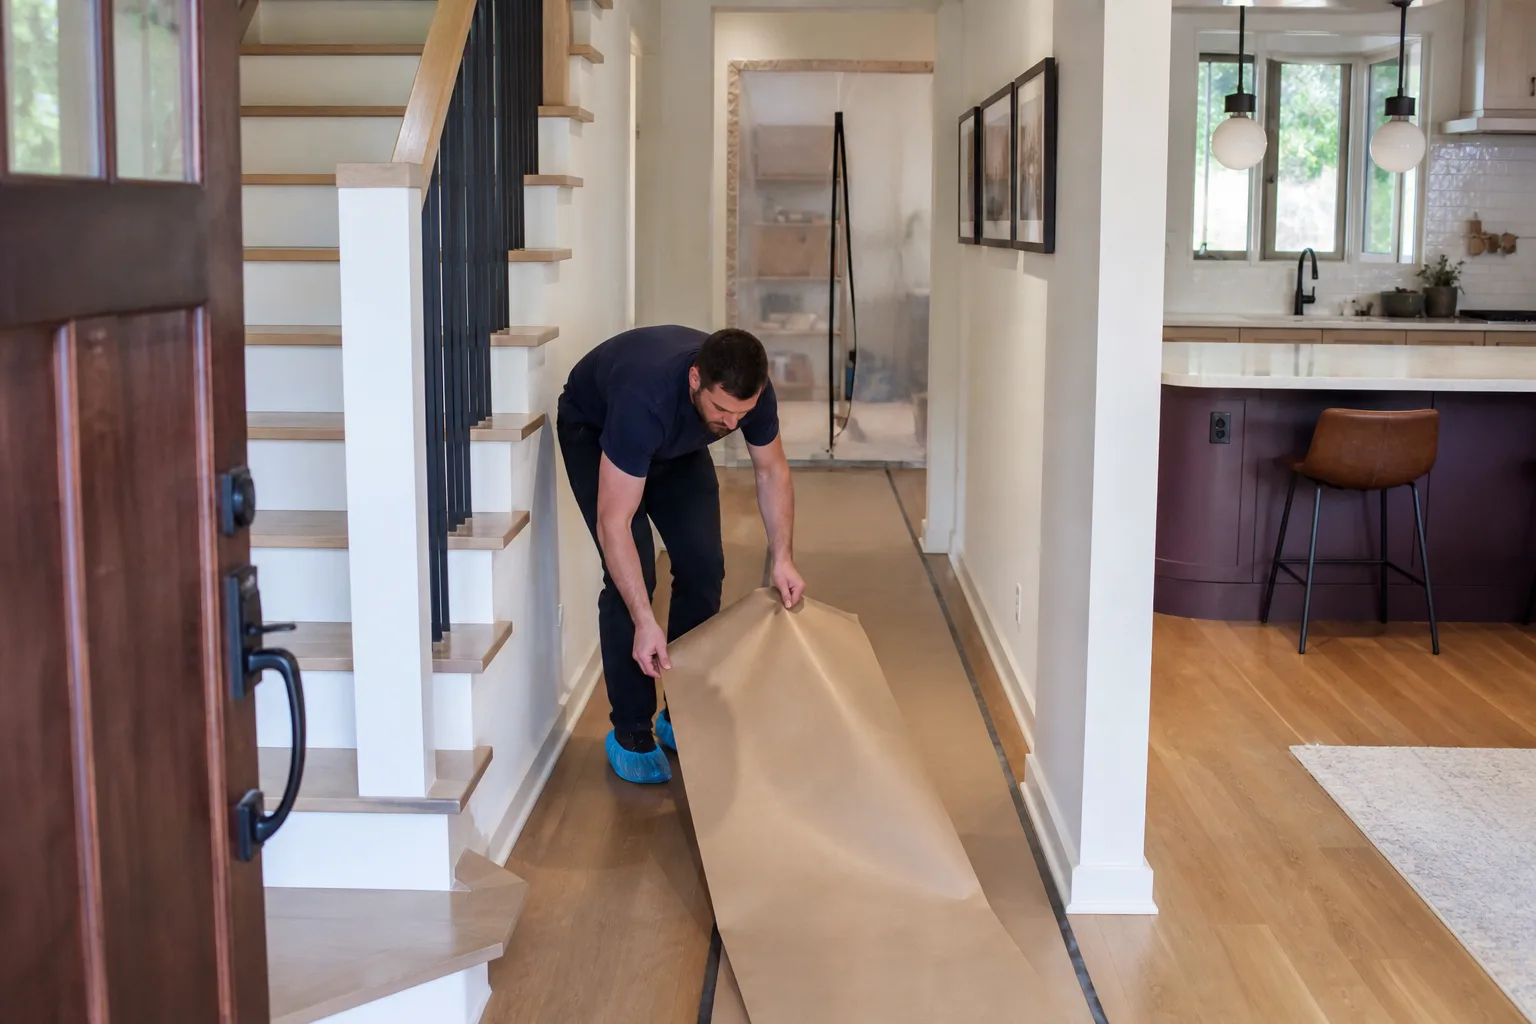
- Protect interior floors and furnishings, and stage removal so old units are carried out in one pass.
- Remove the old unit without damaging the rough opening framing. Any rotted framing found here is documented and priced with a signed change order before repair proceeds.
- Install the sill pan and corner flashing, then set and shim the new unit level.
- Apply side flashing and head flashing in the correct lap sequence, with photos of each stage.
- Insulate the gap between the frame and rough opening, and seal per the manufacturer’s instructions.
- Install interior casing and trim, and complete the exterior finish (stucco patch, siding, or trim boards).
- Test the unit for operation, lock engagement, and square.
- Complete the CF2R and schedule the final inspection, then deliver the photo record and the written warranty.
Note that the professional sequence contains more steps outside the actual install than inside it. That’s the point of this whole guide. The mechanical work is the shorter half.
How Glendale Conditions Shape the Decision
Glendale’s building stock and climate matter to this decision in specific ways. The Verdugo Mountain foothill exposure means a west-facing window in a Sparr Heights or Verdugo Woodlands home takes serious late-afternoon sun, which pushes SHGC requirements harder than a coastal address. The same exposure heats up the rough opening framing through the day, so a flashing failure on the west face shows rot faster than the same failure on the shaded north side.
Glendale’s older housing stock (lots of 1920s through 1950s bungalows and Spanish Colonial revivals alongside 1980s tract homes) also means a homeowner has a strong chance of running into one of these common situations:
- Knob-and-tube adjacent framing or lath-and-plaster interior walls that resist the standard trim-and-casing approach. Casing replacement often reveals more than expected.
- Stucco exteriors with no drainage plane, common in Glendale homes built before the 1990s. A window replacement here has to compensate for a wall that doesn’t drain the way a modern assembly does.
- Original steel-frame windows in mid-century homes, which rarely match modern rough opening dimensions. A true same-size swap is more work than it looks.
- Mills Act or historic-district properties on the northern and eastern edges of Glendale, which add a design-review step to any visible exterior change.
We source American Standard door hardware and Sterling shower and door components where a replacement touches bathroom or utility entries, because both brands publish the kind of specification data the written quote needs to be accurate. No parts are guessed. The number on the page matches the number on the box.
Common Mistakes to Avoid
- Ordering a unit 1/4-inch undersized to make fitting easier. This is a rough-opening change and it voids the same-size exemption. The homeowner has created an unpermitted modification with no visible red flag.
- Skipping the CF1R “because it’s a same-size swap.” The energy compliance report is required for permitted work and often for close-out, regardless of size. Think of it as the receipt for the envelope, not the window.
- Sealing instead of flashing. Caulk is not flashing. A generous bead of sealant around a head flange is a one-to-three-year delay on a water intrusion that still arrives.
- Flat or backward-sloping sill pan, or no pan at all. The pan has to slope to the exterior so water sheds. On Glendale stucco homes with no drainage plane, a flat pan traps water in the wall.
- Replacing a window on a west face with a higher-SHGC glass than required. The unit looks identical to a compliant one, but it fails the compliance check and heats the room every afternoon in foothill summer.
- Working from a ladder above the first floor without a spotter. More than a few Glendale DIY window jobs have ended with an emergency room visit. The mechanical task isn’t worth the risk on a second-story face.
- Ignoring the “we’ll fix it later” drywall patch under an old window. If there’s already a soft spot, the flashing was wrong on the last install. Replacing the unit without addressing the drain plane just moves the damage forward.
See the difference
 Before
 After
 Before
 After
 Before
 After
When to Call a Professional
Call a professional when any of the following applies: the rough opening is changing by any amount, the window is above the first floor, the exterior is stucco with no drainage plane, the property is in a historic overlay or under Mills Act review, or the work needs to close a permit with a CF2R. Our technicians have up to 19 years of experience on residential window and door installs, and every project comes with a written price before work starts, a documented photo record on every visit, and the 365-Day Done Right Promise backed by The Haven Standard. Rowan Construction Group Glendale offers free estimates in Glendale. Call (844) 320-5930 to schedule yours.
Frequently Asked Questions
You need a building permit if the rough opening changes at all, if the unit dimensions change, or if the egress configuration changes. A true same-size swap of an identical unit generally does not require a building permit, but it still needs to meet Title 24 energy requirements, and the compliance documentation should exist in the record. When in doubt, pull the permit; the cost of the permit is a fraction of a retroactive re-permit.
In practice, a homeowner-installed window usually fails at the Title 24 compliance close-out because no CF1R was generated before the work began and the CF2R has nothing to match. The install itself may be mechanically fine. The paperwork, not the installation, is the step most homeowners fail. Call (844) 320-5930 for a free second opinion on an existing install before you call the building department.
Weatherstripping replacement, hardware adjustment, screen repair, and interior casing replacement are all genuinely safe DIY jobs that stop at the wall face. Any of them can be done in an afternoon with hand tools and a few hours. They don’t touch the rough opening, the flashing, or the energy envelope.
A standard vinyl or fiberglass replacement runs roughly $650 to $1,400 per unit in Glendale, and a wood-clad unit runs $1,200 to $2,400, inclusive of permit and energy compliance package. Call (844) 320-5930 for a written, flat-price quote on your specific units; estimates are free.
A typical Glendale window replacement runs one to three days for a whole-house job of 8 to 12 units, plus the permit review window and the final inspection, which together add a week or two to the calendar. The install itself is fast; the compliance documentation and inspection close-out are what add time. Every project here gets a written schedule up front.
Skipping the CF1R and CF2R leaves the project without a permit closure, which can surface at a sale, a refinance, or a future permit review as an unpermitted modification. The fix typically runs $800 to $2,000 to retroactively generate the compliance package, plus any remediation if the units don’t match the report. It’s the most expensive shortcut in the category, and the least visible. Call us before you close out an install without it.
The Bottom Line
Window and door replacement straddles the DIY line in a specific way. The mechanical install is within reach of a careful homeowner; the permit, flashing sequence, and Title 24 documentation almost never are. Same-size matters, and the rough opening is what “size” legally refers to. Flashing done out of sequence costs $2,000 to $8,000 to remediate, and the damage hides for one to three years. The compliance paperwork is the most common point of failure on a homeowner install, and it’s also the cheapest part to get right when it’s done up front. Stick to weatherstripping, hardware, screens, and interior casing. Leave the rough opening and the envelope to a crew.
If you’re comparing a DIY estimate against a professional quote, bring the quote to us. We’ll review it line by line as a free second opinion. For the adjacent envelope work that glazing touches, see Driveway & Pavers in Glendale, Fence Installation in Glendale, and the broader Rowan Construction Group Glendale home page for the full range of trades, including Home Additions & ADU in Glendale. Call (844) 320-5930 for a free estimate; a written price before any work starts is standard here, not an upgrade.
Written by the team at Rowan Construction Group Glendale.