Last updated November 16, 2026

Free written scope consultation - allowances, timeline, and change-order rules on paper before a single trade is scheduled
Bathroom Remodeling Troubleshooting: Common Problems and How to Fix Them
Grout cracking at the tub surround within 12 months of a remodel is almost never a grout problem. It’s one of three substrate failures: deflection in the backer board, missing movement joints at inside corners, or tile set over a surface that wasn’t flat to within 1/8 inch in 10 feet. The fix for each is different and priced differently. In Glendale, where a lot of housing stock dates to the 1920s through 1960s and remodels are often the second or third layer over original framing, those three failures show up constantly. This guide is a symptom-to-cause diagnostic. It won’t teach you to rebuild a shower, but it will help you identify what actually failed, gather the right evidence, and evaluate whether a quoted repair scope matches the diagnosed problem.
Quick Answer
Most bathroom remodel failures trace back to one of three phases: waterproofing, rough plumbing, or tile setting. Cracked grout, loose tile, and recurring moisture usually point to a substrate or membrane problem, not a surface problem. The single most useful thing you can do is document the symptom with photos, a tape measure for scale, and the original permit number before you call anyone, because that evidence determines whether the repair is a $400 regrout or a $6,000 waterproofing reset.
Styles & brands we work with
- Kitchen remodeling
- Bathroom remodeling
- Home additions & ADU
- Roofing
- Windows & doors
- Driveway & pavers
- Fence
Table of Contents
- How to diagnose what actually failed
- Cracked grout and loose tile
- Waterproofing failures: membrane, pan, or penetration
- Low water pressure and slow drains after new fixtures
- What a proper shower flood test involves
- Exhaust fan condensation and paint peeling
- What documentation to collect before calling
- What targeted repairs cost in Glendale
How to diagnose what actually failed
The mistake most homeowners make is describing the symptom instead of locating the cause. “My grout is cracking” tells a contractor almost nothing. “Grout is cracking in a straight line along the inside corner where the back wall meets the side wall, starting about six months after the remodel” tells us it’s likely a missing movement joint. Location, pattern, and timing narrow the diagnosis faster than anything else.
Work through these three questions before you call:
- Where is the symptom? Inside corners, field tile, the curb, the drain flange, or the wall outside the wet zone. Each location maps to a different failure.
- What pattern does it make? A straight-line crack along a corner points to movement. A spiderweb crack radiating from a hard point (a screw, a fixture) points to a fastener or stress point. Cracks across the field of a tile point to deflection.
- When did it start? Within 12 months of the remodel suggests an installation or material issue under warranty. After several years suggests normal movement, settling, or moisture cycling.
In Glendale specifically, the timing question matters because of seasonal movement. Summer heat and dry Santa Ana wind cycles pull moisture out of framing and tile assemblies, then winter rains push it back in. Assemblies that were installed with rigid grout and no movement joints at inside corners crack along those corners by the second or third season. It’s a predictable pattern, and it’s the single most common thing we’re asked to look at in Glendale homes.
Cracked grout and loose tile
Grout is a wear surface, not a structural one. It cracks when the assembly under it moves. That’s why regrouting a shower that cracked because the backer board was installed over greenboard with no waterproofing will crack again within a year. The diagnostic question for a contractor is: which of these three substrate failures caused the movement?
- Deflection in the backer board: cement board installed over studs spaced too widely (more than 16 inches on center, or 16 inches without the required blocking), or over a subfloor with too much bounce. The board flexes, the grout cracks along the flexline.
- Missing movement joints at inside corners: the manufacturer requires a flexible sealant (caulk) rather than grout at the vertical and horizontal transitions. When a setter grouts those corners, the crack appears within the first heating/cooling cycle.
- Tile set over an out-of-flat surface: tile needs the substrate flat to within 1/8 inch in 10 feet and 1/16 inch in 12 inches. When it isn’t, the setter uses more thinset in some areas than others, the tile “tents” or the bond fails over time, and tapping produces a hollow sound (a “hollow tile”).
Loose tile is the advanced version of the same problem. A hollow tile that moves when you press on it means the thinset bond failed, which means water can get behind the tile. In a shower, that’s a waterproofing breach waiting to happen. If you have more than a few loose tiles, the honest conversation is not about re-adhering them; it’s about whether the assembly behind them needs to come out. That conversation is where a written scope matters most, because “repair the loose tile” can mean a $500 patch or a $4,500 removal and reset depending on what’s found underneath.
Waterproofing failures: membrane, pan, or penetration
Waterproofing failures almost always locate themselves. The trick is reading the location correctly, because repair scope changes sharply depending on whether the breach is in the membrane field, at the shower pan transition, or at a fixture penetration.
- The membrane field: liquid-applied membranes like RedGard, or sheet membranes like Schluter Kerdi. Field failures show up as recurring efflorescence (white mineral staining) on the surface, or as moisture at the base of the wall opposite the shower. Membrane repairs are the most involved, because you have to remove the tile, remove the thinset, and rebuild the waterproofing before you retile.
- The shower pan transition: the point where the wall membrane meets the pan liner. This is where 80 percent of shower leaks live. Symptoms include a persistently damp curb, grout lines darkening at the base of the walls, and water staining on the ceiling below the bathroom.
- Fixture penetrations: the shower valve, the showerhead arm, the tub spout. These are often the cheapest fix and the most misdiagnosed. A shower valve installed without a seal around the rough-in opening lets water behind the tile, which then runs down the back of the wall and appears at the floor of the room below. The fix is a new seal and often a new trim kit. The fix a panicked homeowner is sometimes sold is a full shower rebuild.
Before you pay for a contractor assessment, look at the ceiling below the bathroom. Old water staining tells you the leak is chronic and has been happening for a while. Fresh, wet staining tells you it’s active. Both are useful, but they point to different scopes. We’ve seen both in Glendale, particularly in 1940s and 1950s homes where a bathroom sits above a hallway and a slow valve-drip takes years to show up as a stain.
Low water pressure and slow drains after new fixtures
A fixture replacement that produces low pressure or a slow drain is almost always a flow-restriction issue introduced during the swap, not a pipe failure. These are usually the easiest failures to diagnose and the cheapest to fix, which is why it pays to catch them before a contractor talks you into a larger scope.
- Low pressure at a new showerhead: the most common cause is a flow restrictor (a small plastic insert that limits gallons per minute) that came with the new fixture. California code requires low-flow fixtures, but some replacements also include a screen or restrictor that wasn’t installed correctly, or debris in the screen from the install. Check the screen at the showerhead first.
- Low pressure at a new faucet: aerator clogged with sediment stirred up during the swap. Remove and clean it.
- Slow drain after a new vanity or toilet: either a partial clog dislodged during the install, or a new fixture drain line that was installed with too steep a slope (drainage relies on slope, not pressure, and too steep drains faster than the water, which leaves solids behind). A plumber can diagnose the slope with a camera and level in about 20 minutes.
Kohler and Toto fixture cartridges, both common in Glendale remodels, have specific trim and flow specifications. If your new fixture is a pressure-balance or thermostatic valve, a mix-up in which cartridge went into which valve body shows up as either low pressure or no hot water. That’s a two-minute diagnosis on the fixture spec sheet, not a plumbing project.
What a proper shower flood test involves
A flood test is the standard verification that a shower pan holds water. It’s performed by filling the pan with water to the top of the curb (or to the top of the liner, whichever is lower), marking the water line, and letting it sit for at least 24 hours, then checking for changes in level and for moisture at the floor or ceiling below. Codes vary, and some jurisdictions require a minimum duration. In practice, a 24-hour test is the minimum most inspectors in our experience accept, and a 48-hour test is common on projects with complex pan geometry.
A homeowner can do a basic version before paying for a contractor assessment:
- Clean the shower and dry the pan and drain area completely.
- Plug the drain (a test plug works; a sturdy rubber ball is a workaround) and fill the pan with water to just below the top of the curb.
- Mark the water line on the tile with a pencil or a piece of tape.
- Check after 24 hours. If the level dropped without a visible drain leak, or if the ceiling below shows moisture, you have a pan integrity problem.
- Photograph the level and the ceiling below before and after. That comparison is the evidence a contractor needs.
What a flood test can’t tell you is where the leak is. That requires a contractor to remove a section of tile or use a moisture meter on the adjacent wall. The test confirms the problem exists so the diagnostic conversation starts from the right place. If you’re planning a larger remodel rather than a repair, the same test principles inform the waterproofing scope we describe in the Rowan Construction Group Glendale home page.
Exhaust fan condensation and paint peeling outside the wet zone
Peeling paint on the hallway wall outside the bathroom, or a persistently foggy mirror, is a ventilation symptom. The bathroom moisture isn’t leaving the room, and it’s condensing on the coolest surfaces it can reach. This is one of the most misdiagnosed problems because it doesn’t look like a plumbing leak, so it gets treated as a paint problem.
The diagnostic, in order:
- Airflow at the fan. Hold a piece of tissue to the grille. If it doesn’t stick, the fan isn’t moving air.
- Fan sizing. A bathroom needs roughly 1 CFM per square foot of floor area, with a minimum of 50 CFM for a standard bath. A builder-grade fan installed in a 60-square-foot Glendale bathroom is often undersized and hasn’t worked properly in decades.
- Ducting. The exhaust duct has to terminate outside the building, not in the attic. Dumping moisture into the attic is a common shortcut in older homes, and it causes the paint peeling and the fogging at the same time.
- Runtime. A fan on a 5-minute timer doesn’t remove the moisture a 15-minute shower produces. Most bathroom exhaust problems in Glendale homes are fan-runtime problems or duct problems, not fan-motor problems.
If you have paint peeling in a room adjacent to the bathroom, and you’ve already had the roof checked, the exhaust fan is the next place to look. Moisture migrating from a poorly vented bath is a common cause of interior paint failure.
What documentation to collect before calling
The single best way to shorten a diagnosis and prevent an inflated repair scope is to bring evidence. Here’s the packet we ask Glendale homeowners to gather before an assessment:
- Photos with a tape measure in the frame. A crack measured in inches tells a contractor how far the movement went. A photo with a tape measure beside the crack is worth a hundred words.
- The original permit number. Glendale building records are public. Pulling the permit number gets you the inspection history, which tells you whether the original shower was inspected with a flood test, and what the installer specified. That’s the difference between “unknown scope” and “specific scope.”
- The contractor’s material spec from the original contract. Which membrane was used, which thinset, which backer board. The spec determines which failures are possible and which aren’t.
- A moisture reading, if you have one. A $30 pin meter is enough to tell you whether the wall is dry or damp, and the difference changes the scope.
- The date of the original remodel and the warranty terms. Contractors and manufacturers both have written warranty windows. If you’re within one, that changes who pays.
This documentation packet is what “documentation first” means in practice: say what we found, not what we felt about it. The photo record our crews produce on every visit, which is standard on every Rowan job, is built on the same principle. The homeowner leaves with evidence of what was found and what was done.
What targeted repairs cost in Glendale
Prices below are typical 2024 ranges for Glendale, not a quote. They move with tile type, shower size, and access, and they are what a reasonable repair scope should look like when it’s proportionate to the diagnosis.
| Repair | Typical Glendale range | What it covers |
|---|---|---|
| Shower regrout only | $350 – $700 | Grout removal, replacement with sealed grout or epoxy, caulk at movement joints |
| Partial tile repair (5 – 10 tiles) | $500 – $1,200 | Remove and reset a small number of tiles, spot-fix the thinset under them |
| Full shower tile removal and waterproofing reset | $4,500 – $9,000 | Remove tile and backer, install new waterproofing membrane (Kerdi, RedGard, or sheet), retile |
| Shower pan repair (liner or curb) | $1,800 – $4,500 | Pan leak repair, new liner or liquid pan, retile pan and curb |
| Drain line reroute or slope correction | $1,200 – $3,500 | Open wall or floor, correct slope, replace drain section, close and finish |
| Exhaust fan and duct replacement | $400 – $1,100 | New fan, new duct run to exterior, roof or wall cap |
The pattern to watch for: a quoted scope that’s more expensive than the diagnosis supports. If the diagnosis is a missing movement joint in one corner, the proportionate repair is regrout and caulk, not a full reset. If the diagnosis is a failed pan membrane, a regrout won’t fix it, and any quote for regrout alone is throwing money at a leak that will come back. The written price is the tool here. A quote with a line-item scope tells you what the contractor proposes to actually do. A quote that says “bathroom repair: $5,800” tells you nothing. Every Rowan project is quoted with a flat written price and written scope before work begins, and no change proceeds without a signed change order. If you want a free second opinion on a quote you’ve already received, bring it in and we’ll review it line by line at no charge.
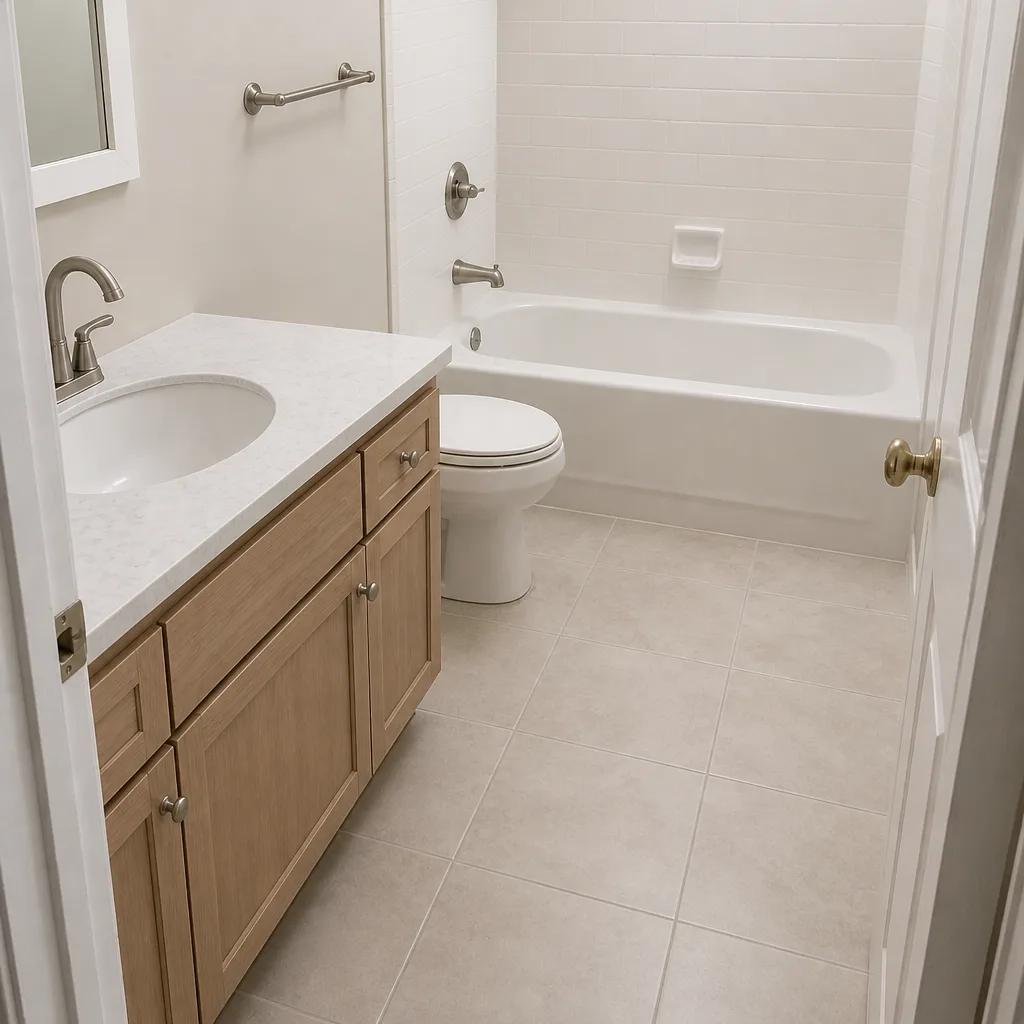
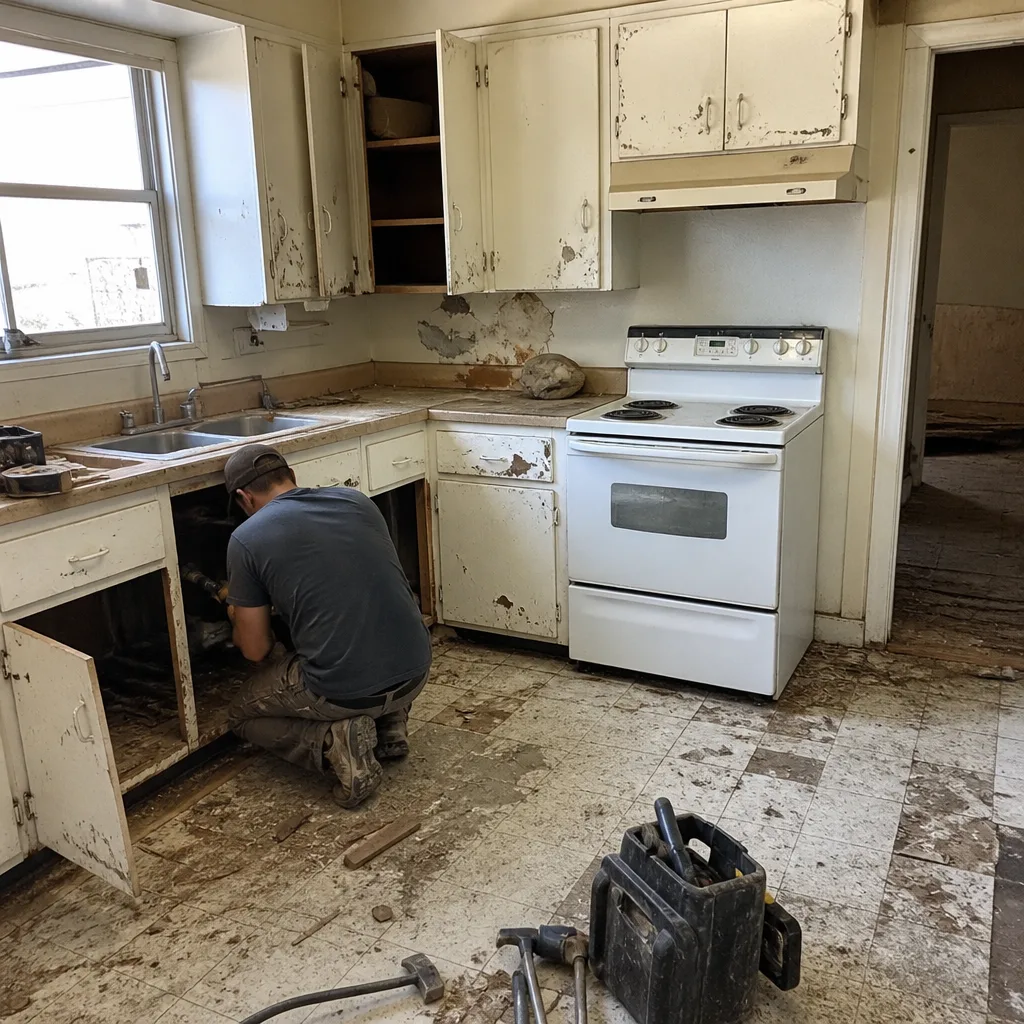
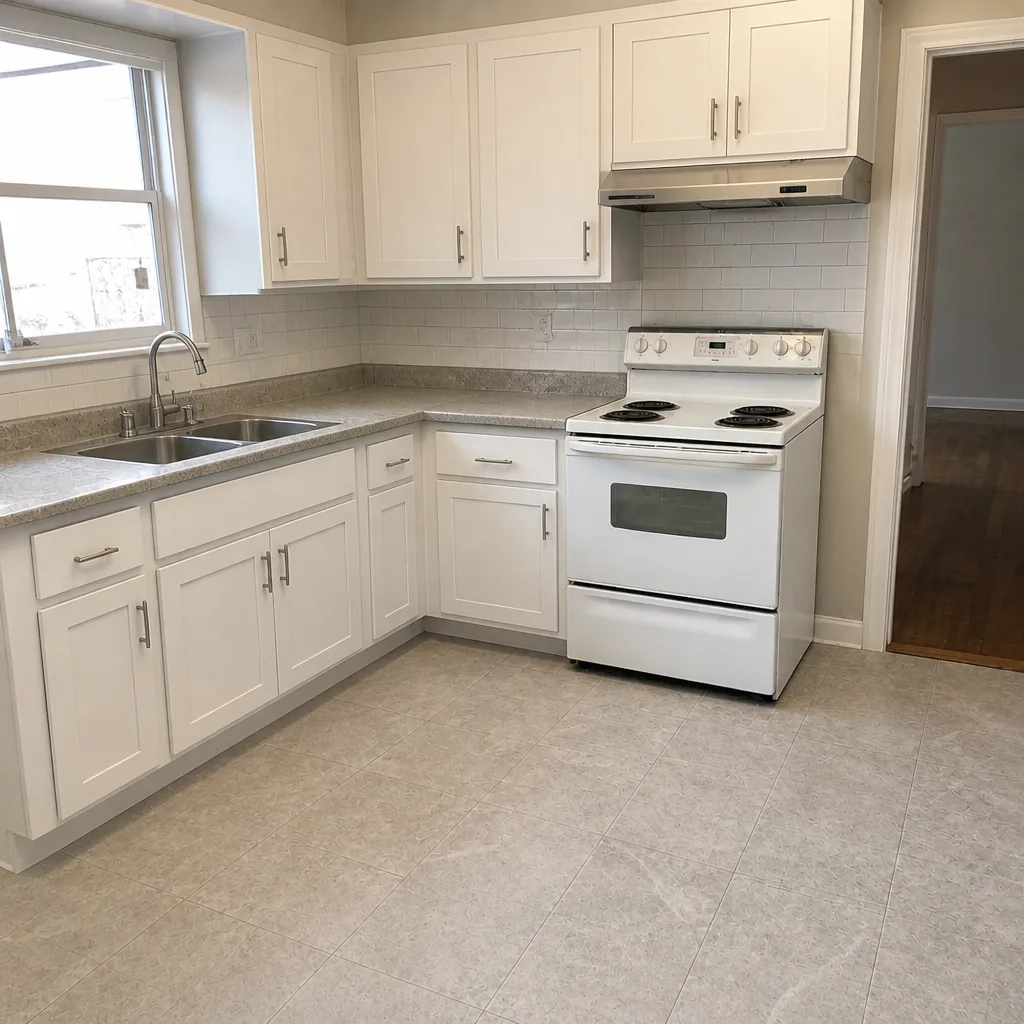
See the difference
 Before
 After
 Before
 After
 Before
 After
Common Mistakes to Avoid
- Grouting a shower that cracked because the assembly moved. It will crack again on the next seasonal cycle, and you’ll have paid for the regrout twice.
- Assuming a shower valve leak is a pan leak. In our experience the valve rough-in is a far more common leak source, and the fix is a fraction of the cost of a pan rebuild. Check the ceiling below and photograph the wall at the valve opening first.
- Venting the exhaust fan into the attic. Common in older Glendale homes; causes paint peeling and mold in the attic space. It’s a metal duct issue, not a cosmetic one.
- Removing a flow restrictor from a new showerhead to get “better pressure.” It’s there for a reason under California code, and removing it is a code violation, not a fix. Check the screen for debris instead.
- Starting a repair without the original permit number. The inspection history tells you what was and wasn’t verified in the original installation, which sets the diagnosis on solid ground. Pull the permit before you pull the tile.
- Accepting a repair quote with no line-item scope. A flat price without a written scope gives you no way to check whether the repair matches the problem. It’s the same reason we insist on a written price before any work starts, on every trade, including Fence Installation in Glendale and Driveway & Pavers in Glendale.
- Assuming a small leak is small. Cosmetic damage from a slow leak in a Glendale 1950s bathroom can take five years to show. By then the moisture has usually traveled into the wall cavity and the framing.
When a repair overlaps with a larger renovation, the same discipline applies. If the diagnosis points to a full remodel, the planning conversation is different, and the same written scope applies on Home Additions & ADU in Glendale work and full bathroom remodels alike.
When to Call a Professional
Call a licensed contractor if you see any of the following: active water staining on the ceiling below the bathroom, a shower that fails a flood test, more than a handful of hollow tiles, a shower pan that stays damp between uses, gas or electrical work inside the bathroom, or a repair quote that seems disproportionate to the symptom. Call us if you already have a quote and want a free line-by-line second opinion before you commit. Rowan Construction Group Glendale offers free estimates in Glendale. Our technicians have up to 19 years of experience across the trades, are background-checked and uniformed, and a live person answers the phone any time. Call (844) 320-5930 to schedule your free estimate.
Frequently Asked Questions
When grout cracks in the same location repeatedly, it means the cause is a movement or substrate problem, not a grout problem. The three likely causes are deflection in the backer board, a missing movement joint where two planes meet, or tile set over an out-of-flat surface. Diagnostic step is to check whether the crack is at an inside corner (movement joint) or across the field of the tile (deflection). Call (844) 320-5930 for a free estimate and a written scope for the repair.
Full shower tile removal and waterproofing reset in Glendale runs $4,500 to $9,000 in 2024, and a targeted pan repair runs $1,800 to $4,500. The range depends on shower size, tile type, and whether the drain line is affected. A written scope should itemize the membrane removal, membrane replacement, and tile reset separately so you can see what you’re paying for. Call (844) 320-5930 for an exact quote.
Yes, if the diagnosis is actually a grout failure (worn grout, missing caulk at movement joints) and the substrate is sound. No, if the tile is hollow or the pan fails a flood test, because regrout won’t stop water that’s already getting behind the tile. The flood test tells you which case you’re in before you spend money on either. Call (844) 320-5930 to talk through the symptom before you commit to a scope.
Low pressure after a fixture replacement usually comes from a flow restrictor, a clogged aerator, or a cartridge installed in the wrong valve body. It’s rarely a pipe failure. Check the aerator and showerhead screen first; if pressure is still low, the fixture specification against the valve is the next step. Call (844) 320-5930 if you want a free estimate for correcting the install.
Paint peeling on a wall adjacent to a bathroom almost always means moisture is migrating out of the bathroom, not that the paint failed. The two most common causes are an exhaust fan that isn’t moving air and an exhaust duct that terminates in the attic instead of outside the building. Both are fixable, and neither is a paint problem. Call (844) 320-5930 for a free estimate on the ventilation correction.
Yes. Pulling the permit is part of the scope on any repair that involves waterproofing, plumbing, or electrical work, because the inspection record is part of your documentation packet and your future resale file. Under Clause 1 of the Haven Standard, the price is written before anyone starts, and the permit is listed in the written scope. Call (844) 320-5930 for a free estimate with a written scope.
The Bottom Line
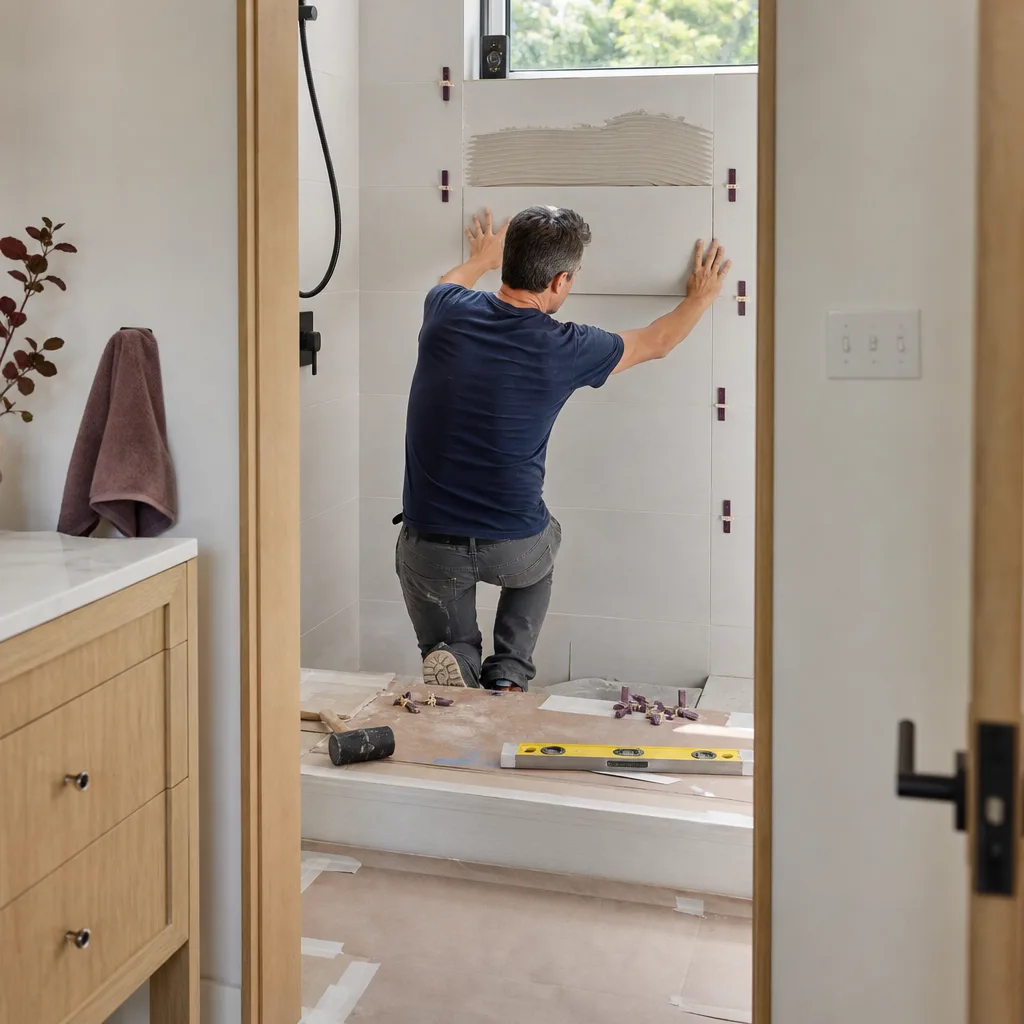
Bathroom remodel failures almost always trace to waterproofing, rough plumbing, or tile setting, and each leaves a specific evidence trail: location, pattern, and timing. Document the symptom with photos and a tape measure, pull the original permit number, and gather the original material spec before calling a contractor. Run a basic flood test if you suspect a pan leak, and check the exhaust fan before you paint over moisture damage. Then compare any quoted repair against the diagnosis. If the scope is proportionate and the price is written, you can move forward with confidence. If it isn’t, get a second opinion.
Rowan Construction Group Glendale writes the price before anyone picks up a tool, on every trade and every repair, and stands behind it with the 365-Day Done Right Promise. Every visit includes a documented photo record as a standard deliverable. Call (844) 320-5930 to schedule your free estimate.
Written by the team at Rowan Construction Group Glendale.